
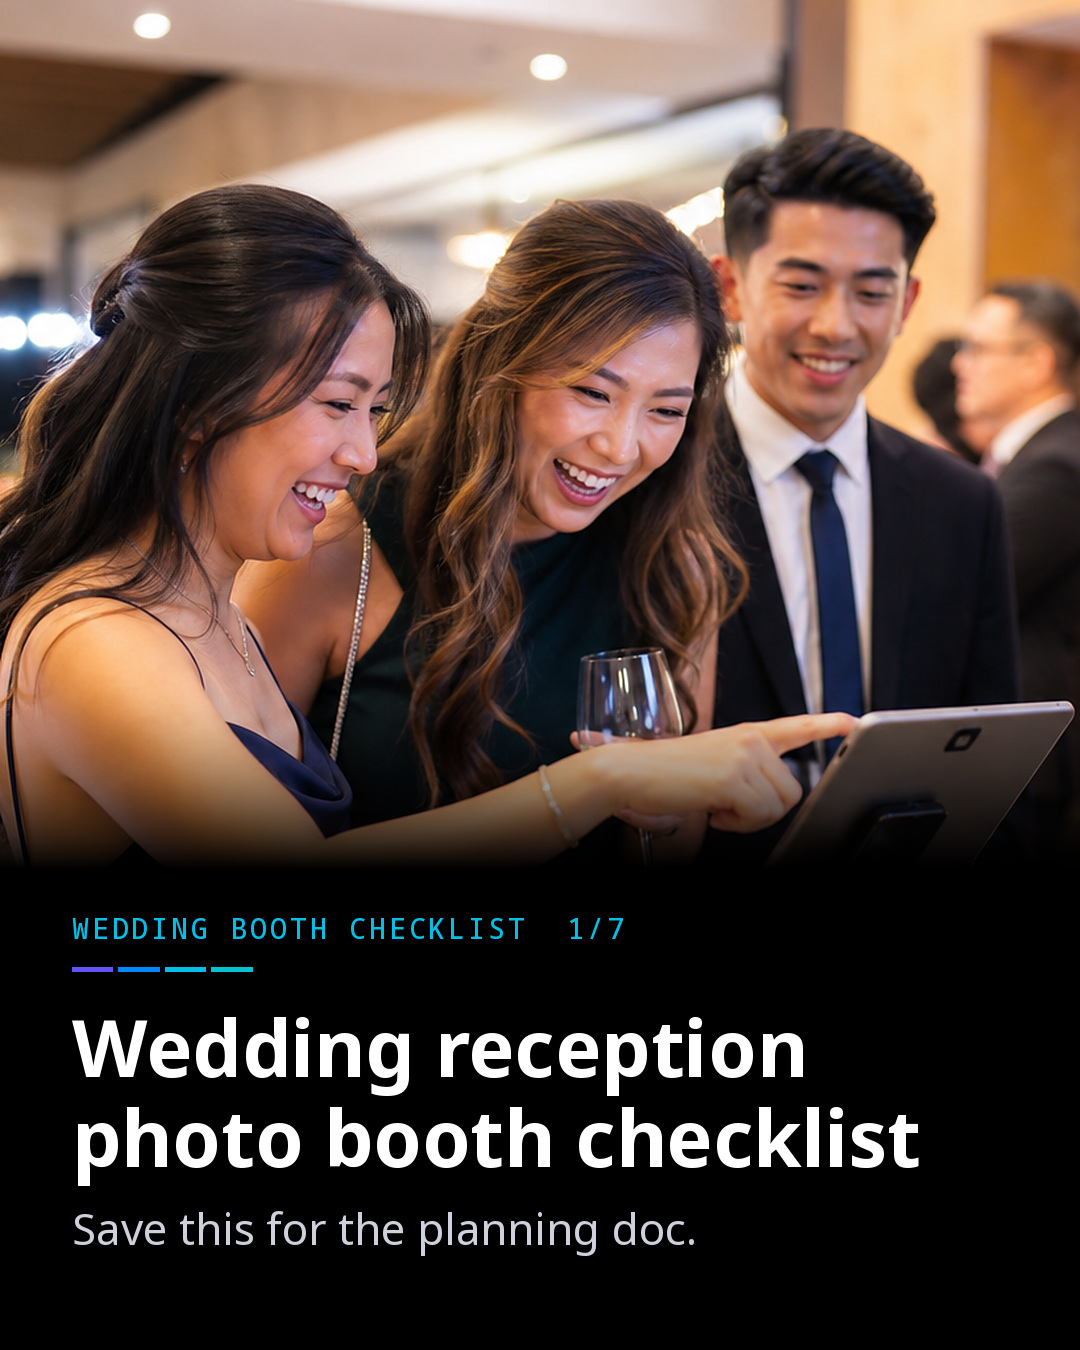
Planning a reception means a hundred small decisions, and the photo booth should not be one of the hard ones. This is a one-page checklist you can save to your planning document. It assumes you are using an iPad and ZillaBooth, and it is built so that guests can run the booth themselves while the wedding party enjoys the night.
The gear
- An iPad you already own, running iOS 26 or later.
- A sturdy stand that holds it at chest height.
- A power cable long enough to reach the nearest outlet.
- An AirPrint printer and paper, if you want prints.
The spot
Put the booth near the bar, not on the dance floor. People linger by the bar, so they will happily wait for a turn. Keep an outlet within reach and leave a little space around the stand so a group of six can stand together. If you want a deeper dive on placement, our guide to lighting a dim venue also covers where to put the stand.
The light
Reception lighting drops after dinner. One soft light in front of the booth, pointed at faces, makes the biggest difference. Take a test grid at the time of day the party will be at its darkest, and adjust from there.
The layout
ZillaBooth gives you a classic 1×4 strip or a 2×2 grid after a four-photo countdown. A grid is easier for groups, and a strip is lovely for couples. Both are free, with no watermark and no account. If you are undecided, read why the 2×2 grid is still a favorite.
Your names on the strip
With Pro, you can add a PNG overlay with your names and the date, one design for each layout. Most couples make it in a graphics app or ask a designer friend. Keep the text away from the edges and make sure it has enough contrast against photos.
How guests take it home
Some guests want a printed strip and some want an email. Printing works on every tier through AirPrint, and Pro adds Simple Printing, a one-tap Print button after you choose a printer. For email, Pro includes Simple Email Sharing, which sends the photos from your own email address. Offering both means nobody leaves without their picture.
Lock it in
By the end of a long reception, someone has usually found the settings. Turn on Apple’s Guided Access to lock the iPad to ZillaBooth, and with Pro, Hide Settings keeps the settings button out of sight.
If the reception runs late, set Auto-Lock to Never in the iPad’s Display & Brightness settings, start Guided Access, and keep the iPad plugged in so the screen stays on all event.
The final test
Do a full run-through the day before:
- Take a strip as a couple and print it.
- Check that the printer is on the same Wi-Fi network as the iPad.
- Walk a friend through the booth without explaining it, and see what they ask.
- Pack spare paper and a charger.
Who looks after it
Name one friend as the booth contact, someone who can refill paper and answer a question. The booth itself does not need a staff member, but a single contact person keeps small problems from becoming big ones.
Where to learn more
The wedding photo booth page has more details on how couples use ZillaBooth at receptions, and the Pro page lists the features that matter for overlays, printing and email. When you are ready, try ZillaBooth Pro or start with the free app and run a practice session at home.


