Tag: iPad Photo Booth

  • Hand the Couple the Remote: Bluetooth Shutter

    Hand the Couple the Remote: Bluetooth Shutter

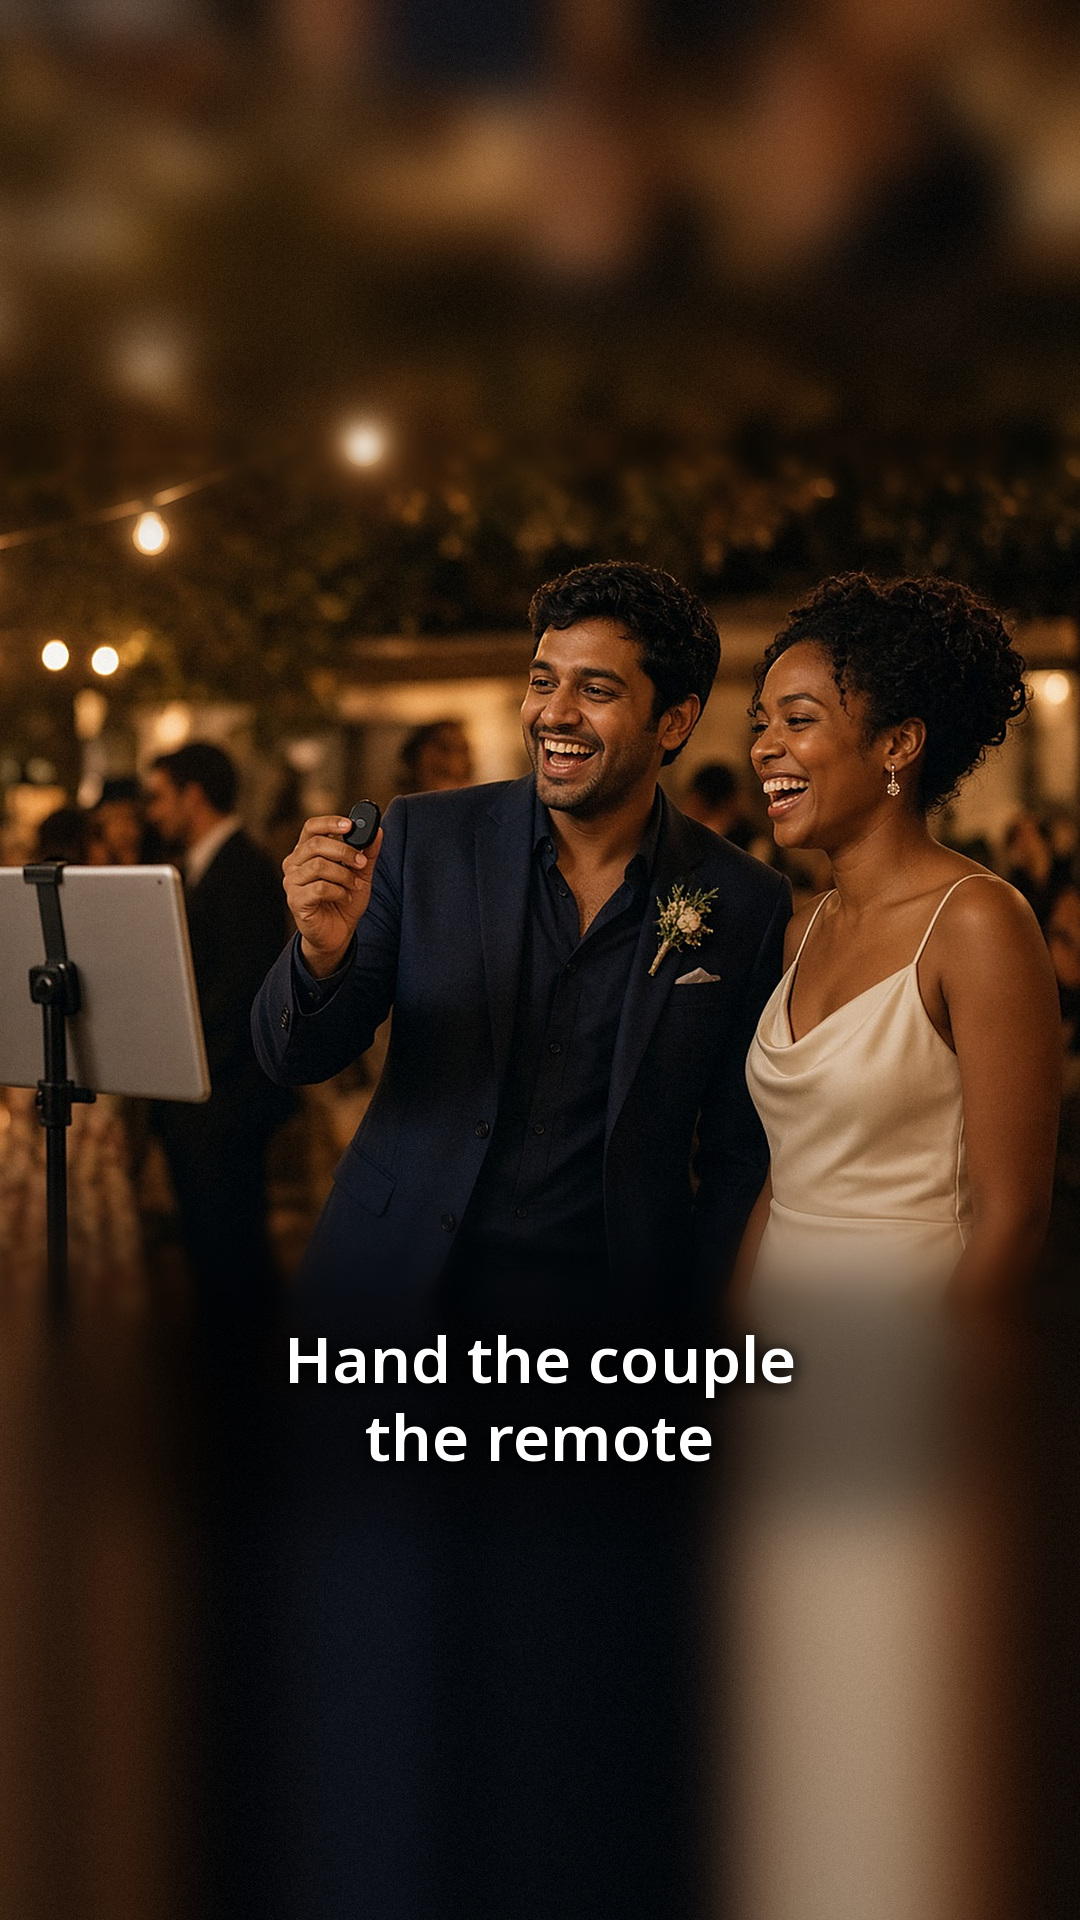
    Most couples never get a proper turn at their own photo booth. Guests crowd around it, the line moves fast, and the newlyweds are busy greeting people. A small Bluetooth remote fixes that. Hand it to the couple, and they decide exactly when the countdown starts.

    What the remote does

    With ZillaBooth Pro, you can turn on Bluetooth Remote Shutter, pair a small Bluetooth shutter remote, and a single click starts the countdown. One press starts the countdown and then all four shots. Four photos later, the couple has a strip of their own. The booth runs the same way for guests, who tap the screen as usual.

    It is an opt-in setting, so it does not change anything until you switch it on.

    How to set it up

    The setup is quick, and it is worth doing a day or two before the reception:

    1. Open ZillaBooth on the iPad and go to Settings.
    2. Turn on Bluetooth Remote Shutter in the Pro settings.
    3. Pair your remote with the iPad as you would any Bluetooth accessory, then test it with ZillaBooth before the event, since remotes vary.
    4. Run a test session and click the remote once. Check that the countdown starts and four photos are taken.

    Try it from the spot where the couple will be standing. Bluetooth works best within a normal room distance, so a short test saves surprises later.

    When to hand over the remote

    Some couples use it right after the first dance, when the room is buzzing and everyone wants a photo. Others hold it for the end of the night, when the crowd has thinned and they can take a few relaxed strips together. A good rule is to give it to the couple at the start of the reception and let them choose.

    If you have a friend acting as the booth contact, ask them to show the couple how to click once and hold still for the countdown.

    Prints for the couple

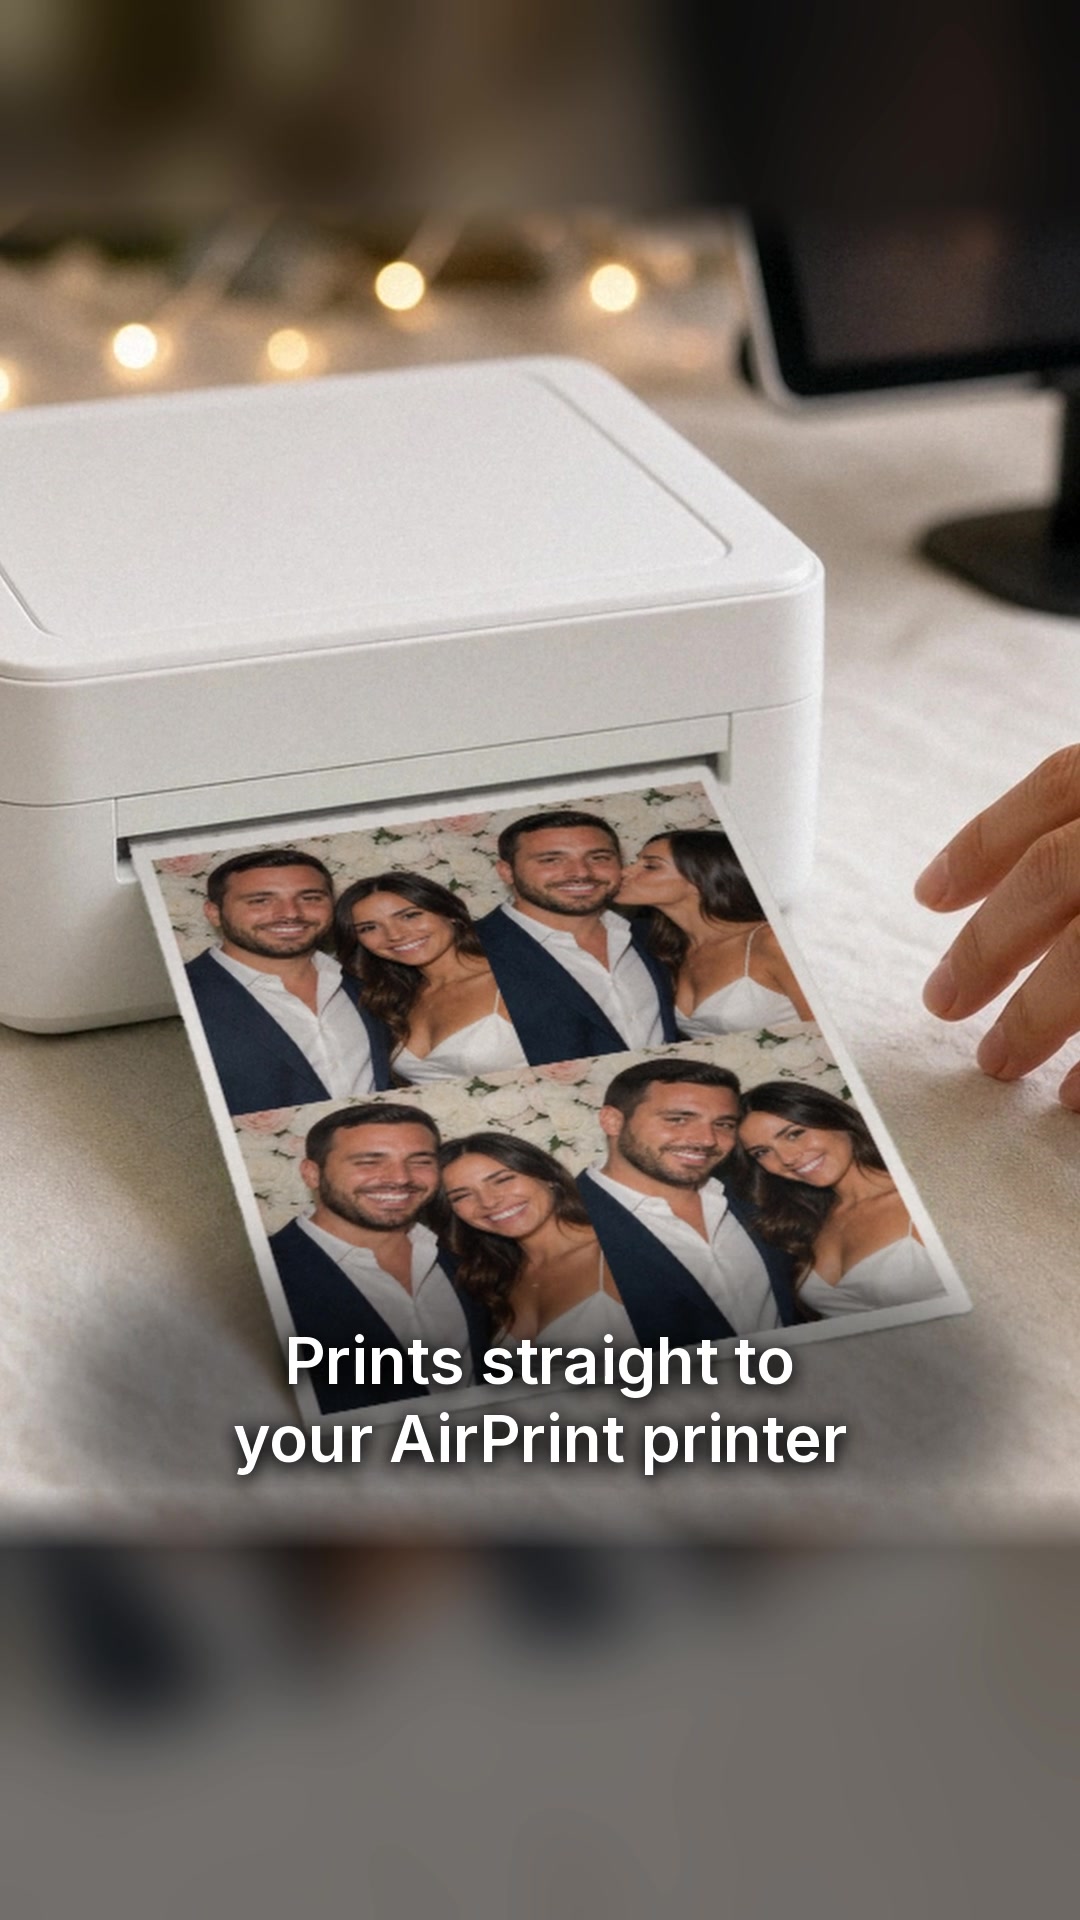
    After the session, the couple can print their strip right away. Printing works on every tier through AirPrint, and Pro adds Simple Printing, a one-tap Print button. Keep the printer close to the booth so the couple does not have to walk across the room to collect the print.

    A fun idea: keep the first strip of the night for the guest book or the thank-you card.

    What it costs

    ZillaBooth is free to download. Pro is a monthly or yearly subscription that includes Pocket, and you can see current pricing in the app. If you only need Pro for a wedding weekend, a monthly plan covers it.

    Small details that help

    • Put a fresh battery in the remote and pack a spare.
    • Pair the remote at home, not during the reception.
    • Add a “Tap to start” sign so guests know they do not need the remote.
    • Make sure the iPad is plugged in and the stand is stable.

    Where this fits in your wedding plan

    The remote is a nice extra, not a requirement. Your reception booth will work well with just the iPad and a stand. If you are still planning, start with our wedding reception photo booth checklist and add the remote once the basics are in place. The wedding photo booth page also shows how couples set up ZillaBooth at receptions.

    Ready to give the couple the remote? See what ZillaBooth Pro includes and test the setting before the big day.

  • The Rehearsal Dinner Booth: A Warm-Up Round

    The Rehearsal Dinner Booth: A Warm-Up Round

    The rehearsal dinner is the calm before the wedding. The wedding party is relaxed, family is meeting for the first time, and nobody is in a rush. That makes it the best moment to try out your photo booth, and a very good excuse to take the first photos of the weekend.

    Why test at the rehearsal dinner

    Running the booth the night before gives you three things.

    First, a real test. You will see how long a session takes, where the stand works best, and whether the light is flattering. Second, a trained group. The wedding party will know how the booth works, so they can show other guests the next day. Third, a head start on the guest book. If you are planning a photo guest book, a few early strips already fill the first page.

    Keep it low-key

    A rehearsal dinner is not a full reception, so the booth should be simple. Put the iPad on a stand near the tables, where people are already milling around. Open ZillaBooth, choose a 2×2 grid, and let people walk up on their own.

    The countdown does most of the directing. Guests tap, pose, and see the finished picture in a few seconds. A small sign that says “Tap to start” helps.

    A few things to find out

    Use the evening as a rehearsal in the proper sense. Check these items:

    • Who hogs the frame, and who needs a nudge to join in?
    • How loud is the room, and can guests hear the countdown?
    • Which pose wins? Every group has one.
    • Does the stand sit steady on the floor or table you plan to use?
    • Is the light soft enough, or do you need a lamp in front?

    Write down what you learn. You will use it the next day.

    Prints and email

    If you want to try printing, printing works on every tier through AirPrint, so any AirPrint printer on the same Wi-Fi is enough to test. You can also share the pictures from the iPad. A printed strip makes a lovely thank-you for parents and grandparents.

    If you plan to use a names-and-date design at the reception, Pro lets you add your own PNG overlay to every picture. The rehearsal dinner is a great time to check that the text is readable on the iPad screen. The Pro page has the details.

    Who should be the booth friend?

    Ask one person in the wedding party to take charge. They do not need to be technical. They just need to remember where the paper and charger live and be willing to show guests how to start. By the reception, that person will be a pro.

    What to do afterward

    Look through the test pictures with the wedding party. Pick a favorite and save it for the slideshow or the thank-you card. If anything looked off, adjust the stand, the light or the printer location before the big day.

    For a full plan for the reception itself, read our wedding reception photo booth checklist. You can also see how couples use ZillaBooth on the wedding photo booth page.

    Want to try it this weekend? Download ZillaBooth from the App Store and set up a warm-up round.

  • Wedding Reception Photo Booth Checklist, One Page

    Wedding Reception Photo Booth Checklist, One Page

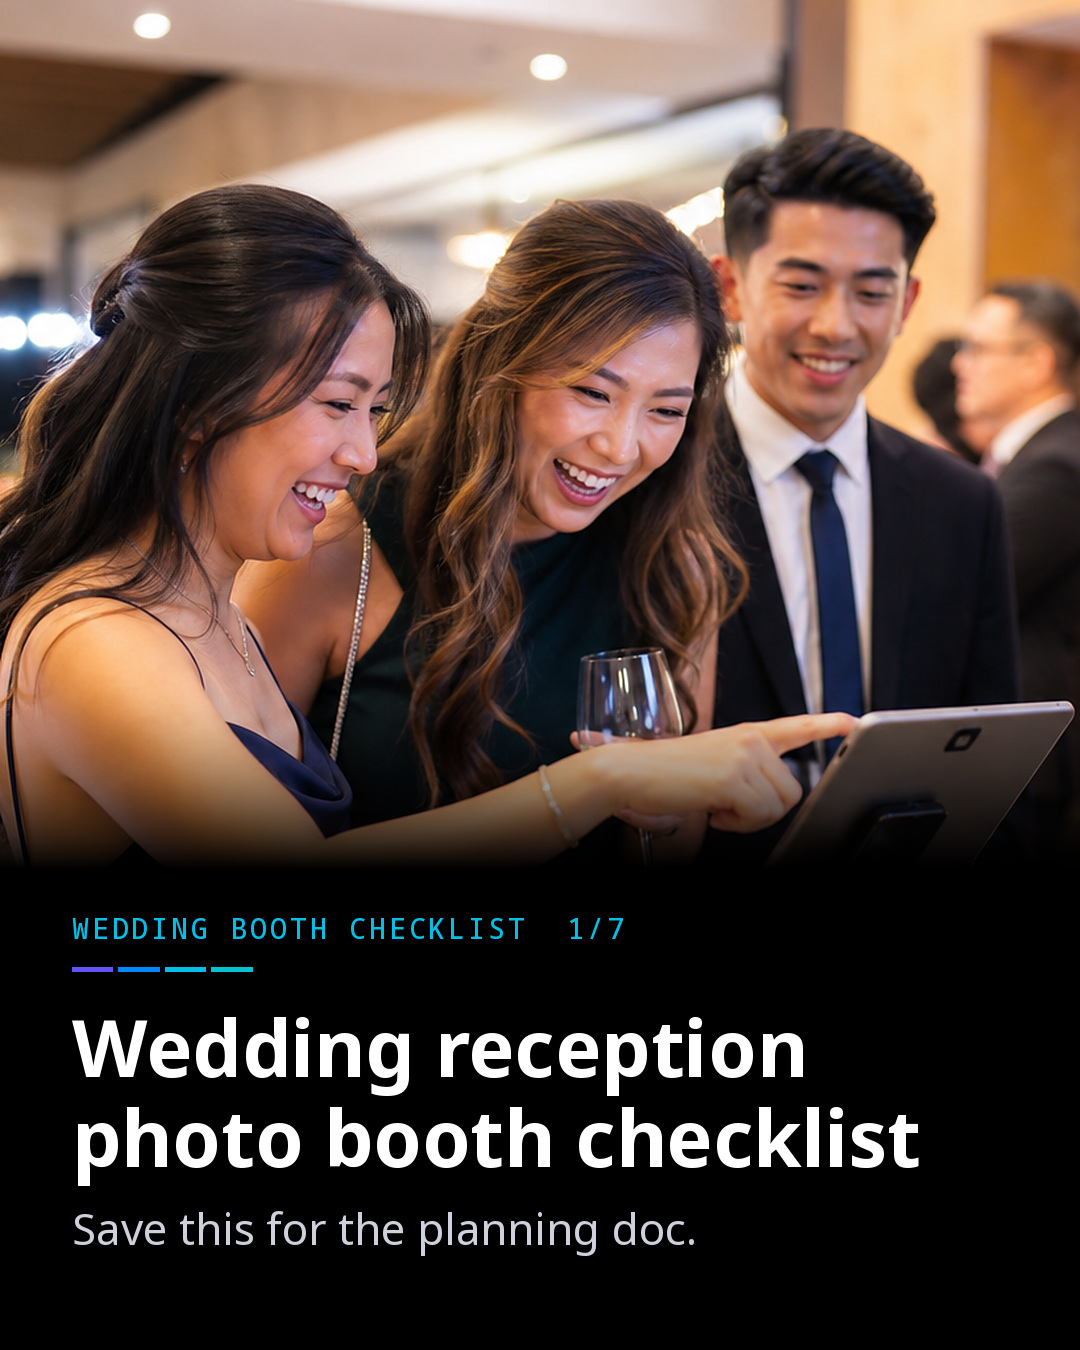
    Planning a reception means a hundred small decisions, and the photo booth should not be one of the hard ones. This is a one-page checklist you can save to your planning document. It assumes you are using an iPad and ZillaBooth, and it is built so that guests can run the booth themselves while the wedding party enjoys the night.

    The gear

    • An iPad you already own, running iOS 26 or later.
    • A sturdy stand that holds it at chest height.
    • A power cable long enough to reach the nearest outlet.
    • An AirPrint printer and paper, if you want prints.

    The spot

    Put the booth near the bar, not on the dance floor. People linger by the bar, so they will happily wait for a turn. Keep an outlet within reach and leave a little space around the stand so a group of six can stand together. If you want a deeper dive on placement, our guide to lighting a dim venue also covers where to put the stand.

    The light

    Reception lighting drops after dinner. One soft light in front of the booth, pointed at faces, makes the biggest difference. Take a test grid at the time of day the party will be at its darkest, and adjust from there.

    The layout

    ZillaBooth gives you a classic 1×4 strip or a 2×2 grid after a four-photo countdown. A grid is easier for groups, and a strip is lovely for couples. Both are free, with no watermark and no account. If you are undecided, read why the 2×2 grid is still a favorite.

    Your names on the strip

    With Pro, you can add a PNG overlay with your names and the date, one design for each layout. Most couples make it in a graphics app or ask a designer friend. Keep the text away from the edges and make sure it has enough contrast against photos.

    How guests take it home

    Some guests want a printed strip and some want an email. Printing works on every tier through AirPrint, and Pro adds Simple Printing, a one-tap Print button after you choose a printer. For email, Pro includes Simple Email Sharing, which sends the photos from your own email address. Offering both means nobody leaves without their picture.

    Lock it in

    By the end of a long reception, someone has usually found the settings. Turn on Apple’s Guided Access to lock the iPad to ZillaBooth, and with Pro, Hide Settings keeps the settings button out of sight.

    If the reception runs late, set Auto-Lock to Never in the iPad’s Display & Brightness settings, start Guided Access, and keep the iPad plugged in so the screen stays on all event.

    The final test

    Do a full run-through the day before:

    • Take a strip as a couple and print it.
    • Check that the printer is on the same Wi-Fi network as the iPad.
    • Walk a friend through the booth without explaining it, and see what they ask.
    • Pack spare paper and a charger.

    Who looks after it

    Name one friend as the booth contact, someone who can refill paper and answer a question. The booth itself does not need a staff member, but a single contact person keeps small problems from becoming big ones.

    Where to learn more

    The wedding photo booth page has more details on how couples use ZillaBooth at receptions, and the Pro page lists the features that matter for overlays, printing and email. When you are ready, try ZillaBooth Pro or start with the free app and run a practice session at home.

  • Four Frames, One Grid: Halloween Night at the Bar

    Four Frames, One Grid: Halloween Night at the Bar

    Halloween night at the bar is loud, crowded and full of costumes people spent weeks on. It is also a great night for a photo booth, because groups already want to pose and show off. Here is a simple way to run one that tells the story of the night in four frames.

    Four prompts, one grid

    ZillaBooth takes four photos in a row after a countdown and puts them together as a 2×2 grid. That structure gives you a built-in storyline. Tape four prompts next to the iPad and let the costumes direct themselves:

    1. Everyone looks up.
    2. Someone hides their eyes.
    3. Claws out.
    4. The whole crew screams.

    Guests do not need instructions beyond that. The countdown does the rest, and the finished grid reads like a tiny horror movie.

    Where to put it

    Place the iPad on a stand at the end of the bar, where people are already waiting for drinks. Keep it out of the main walkway so the line does not block the bartenders. If your bar has a dim corner near the back, that works too, as long as you add a bit of light on faces. One small lamp in front of the booth is usually enough.

    A quick check before opening:

    • Take a test grid with a staff member in costume.
    • Make sure the iPad is plugged in and the stand is steady.
    • Wipe the screen. Fingerprints show up under purple light.

    Prints and shares

    Guests love a physical keepsake, and a bar is a natural place for one. Printing works on every tier through AirPrint, so an AirPrint printer behind the bar is all you need, and Pro adds Simple Printing, a one-tap Print button. Guests can also share the grid from the iPad to their own phones, which spreads the picture around social media long after last call.

    Make it feel like your bar

    If you plan to run this more than once, a little branding helps. With Pro, you can add your own PNG overlay to every grid, such as the bar’s name or a Halloween border. Guests post the picture, and your name goes along with it.

    For a long night, Apple’s Guided Access locks the iPad to ZillaBooth, and with Pro, Hide Settings keeps the settings button out of sight. That way a curious guest cannot wander out of the app halfway through the evening.

    Staff tips

    Bartenders are busy, so the booth should not add to their work. A few things help:

    • Assign one person to check the paper once an hour.
    • Put a “Tap to start” sign on the stand.
    • Keep a small tray of props, such as fangs and hats, at the end of the bar.
    • Let the first group of the night take a few practice photos so others see how it works.

    Why this works

    A photo booth gives guests a reason to stay for one more round, and it gives the bar a reason to get tagged in photos. For more ideas on how venues use the night out as a marketing moment, see our post on bar and nightclub marketing. You can also read more on the event photo booth app page.

    Planning a booth night? Look at ZillaBooth Pro for overlays and printing, or start free and run a test grid this week.

  • How to Turn an iPad Into a Wedding Photo Booth

    How to Turn an iPad Into a Wedding Photo Booth

    How do I turn an iPad into a wedding photo booth?

    To turn an iPad into a wedding photo booth, put it on a sturdy stand at chest height near soft, even light, install ZillaBooth from the App Store, and with ZillaBooth Pro, lock it to the app with Guided Access so guests can run it themselves. ZillaBooth Pro also lets guests tap Print for a strip through Simple Printing and email their photos to themselves from your own email address.

    1. Stand: mount the iPad on a sturdy stand at about chest height, near an outlet so it stays plugged in. In Guided Access, set Display Auto-Lock to Never and keep the iPad plugged in so the screen stays on all event.
    2. Lighting: face guests toward soft, even light, such as a window by day or a lamp or LED panel at night, and keep bright windows behind the iPad, not behind the guests.
    3. ZillaBooth: install ZillaBooth (iPadOS 26 or later) and pick a 2×2 grid or a 1×4 strip.
    4. Guided Access (Pro recommended): lock the iPad to ZillaBooth. With ZillaBooth Pro, the settings button hides automatically while the iPad or iPhone is locked in Guided Access or Single App Mode, and comes back when you end it.
    5. Simple Printing (Pro): select your AirPrint printer once in Simple Printing so guests can tap Print to send their strip to it. DNP printers work through DNP’s WCM-Plus.
    6. Guest email (Pro): set up Simple Email Sharing with your email account’s SMTP settings so photos arrive from your own email address.
    7. Test run: run a full session, including printing and email, before guests arrive.

    A wedding photo booth does not have to be a big rented box with a curtain. If you own an iPad, you already have most of what you need. Here is how couples and planners set one up with ZillaBooth, step by step.

    Step 1: Stand and spot

    Start with a sturdy stand, the kind that holds the iPad at about chest height. Place it near the bar or the lounge area rather than on the dance floor. People linger by the bar, and they will wait for a turn without grumbling. Keep an outlet nearby so the iPad stays plugged in all evening.

    For more on lighting a dim venue, see our lighting guide.

    Step 2: Open the app and pick a layout

    ZillaBooth is free to download. It needs iOS 26 or later. Open the app, and choose a classic 1×4 strip or a 2×2 grid. A grid is a good default at weddings because it holds a whole group, while a strip suits couples and small groups.

    The free version (Core) has no watermark and needs no account, so there is nothing to sign up for before the reception.

    Step 3: Let guests run it

    Guests tap the screen, and a countdown starts. Four photos later, the finished picture appears. That is the whole experience, and it is why wedding parties and grandparents can both use it without help. Test it yourself with a few people before the day so you know exactly how long a session takes.

    Step 4: Add printing and email

    If you want prints, set up an AirPrint printer on the same Wi-Fi network as the iPad. With ZillaBooth Pro, Simple Printing sends each strip to that saved printer with one tap when guests tap Print, and DNP printers work through DNP’s WCM-Plus. You can also print from the iOS share sheet. Place the printer within sight of the booth, but away from the walkway.

    For guests who prefer a digital copy, Pro includes Simple Email Sharing, which sends the photos from your own email address (on your own domain, if you have one) using your email account’s SMTP settings. Guests type their address on the iPad and the photos arrive in their inbox.

    Step 5: Make it yours

    Pro lets you add your own PNG overlay, for example your names and the date, to every picture. You create the design as a PNG in any graphics tool, then load it into the app. Overlays work one at a time.

    Step 6: Keep guests in the app

    At a long reception, someone will eventually poke around in the settings. Turn on Apple’s Guided Access to lock the iPad to ZillaBooth. With ZillaBooth Pro, the settings button hides automatically while the iPad or iPhone is locked in Guided Access or Single App Mode, and comes back when you end it. Together they keep the iPad on the booth screen.

    What it costs

    ZillaBooth Core is free. Pocket is a one-time purchase, and Pro is a monthly or yearly subscription that includes Pocket. You can see current pricing in the app. Most couples start with Core and a test run, then decide whether they want prints and overlays on the day. The Pocket page explains what the one-time upgrade adds.

    A short checklist for the day before

    • Charge the iPad and pack the charger.
    • Print a test strip and check the paper.
    • Tape a “Tap to start” sign to the stand.
    • Ask one friend to be the booth contact in case someone has a question.

    FAQ

    Can I use an iPad as a wedding photo booth?

    Yes. ZillaBooth turns an iPad into a wedding photo booth that makes classic 2×2 grids and 1×4 strips. ZillaBooth Pro adds a self-serve setup with Guided Access, Simple Printing and guest email from your own email address (SMTP).

    Do I need ZillaBooth Pro for a wedding?

    Not to take photos: the free version runs the booth and guests can share from the iPad. Pro is worth it if you want Simple Printing, guest email from your own email address (SMTP), a custom overlay with your names and date, or external camera support on iPad (UVC webcams, plus Canon EOS cameras from about 2010 on; tested on the Rebel SL2, support varies by model).

    How do I stop guests leaving the photo booth app?

    Turn on Apple’s Guided Access and start it inside ZillaBooth. With ZillaBooth Pro, the settings button hides automatically while the iPad or iPhone is locked in Guided Access or Single App Mode, and comes back when you end it.

    Which printer works with an iPad photo booth?

    With ZillaBooth Pro, Simple Printing sends each strip to a saved AirPrint printer with one tap; DNP photo printers work through DNP’s WCM-Plus. On any tier, you can also print from the iOS share sheet. See using DNP printers with ZillaBooth.

    Ready to try it?

    You can see how it fits into a full reception on the wedding photo booth page, and the Pro page lists the extras for overlays, email and printing. When you are ready, download ZillaBooth from the App Store, set it up on a quiet evening, and run a few test sessions with friends.

    Comparing apps first? See the best photo booth apps for iPad, our Simple Booth alternatives guide, or why an iPad is a cheap alternative to renting a photo booth.

    Example strips and grids

    A few example layouts in the style guests make with ZillaBooth: classic 1×4 strips, 2×2 grids, and Pocket looks with black-and-white photos and borders. These are illustrations, not photos from real events.

  • Halloween Photo Booth Checklist for Your iPad

    Halloween Photo Booth Checklist for Your iPad

    Costumes deserve better than a blurry phone picture taken in a hallway. If you are hosting a Halloween party this year, the iPad you already own can be the photo booth. Here is a five-step checklist you can run through in about fifteen minutes.

    1. Put the iPad on a stand at chest height

    Hand-holding is how you end up with crooked photos and tired arms. A tabletop or floor stand keeps the camera steady and at a comfortable height for most guests. Tape a small mark on the floor where people should stand so everyone ends up in frame, even the one in the giant inflatable dinosaur suit.

    2. Light the faces, not the cobwebs

    Halloween rooms are dark on purpose, and cameras hate that. Put one lamp in front of the booth, pointing at where faces will be. A warm bulb keeps the mood, and you can leave the purple lights and fog on behind the guests. Take a test photo and adjust until you can see everyone’s makeup.

    3. Pick a 2×2 grid or a classic strip

    ZillaBooth takes four photos in a row after a countdown and gives you one finished picture. You can choose a 2×2 grid or a classic 1×4 strip. A grid works well for groups because everyone fits in each frame. A strip feels more old-school and suits couples and pairs. Both layouts are free, with no watermark and no account.

    4. Add a spooky overlay with your party name

    With Pro, you can put your own PNG overlay on every picture, such as a cobweb border with the party name and the date. You design it once in any graphics tool and load it in. Our post on designing overlays for non-designers explains how to keep text readable. If you would rather skip this step, the plain grid still looks great.

    5. Decide how guests take it home

    Some people want a print for the fridge, and some want a copy on their phone. Printing works on every tier through AirPrint, so if you have an AirPrint printer on your Wi-Fi, guests can print. Guests can also share the picture straight from the iPad, which is handy for the friend who left early.

    A few extra tips

    • Keep a small basket of props near the stand. Simple things work: plastic fangs, a witch hat, a cardboard sign.
    • Do a full run-through before the first guest arrives. Take a strip with the host and fix anything that looks off.
    • Plug the iPad in. Four-photo sessions all night add up, and a dead screen at 10 pm is a sad ending.
    • Put a small sign by the stand that says “Tap to start”.

    Where to go from here

    If you are planning a larger party, the event photo booth app page shows how the same setup scales to a venue. If you only need a simple setup for the family or a few friends, the Pocket upgrade adds adjustable timers and flash control.

    Ready to build your booth? Get ZillaBooth from the App Store, run a test strip tonight, and save the checklist for party day.

  • Walk Up, Pose, Print: A Self-Serve iPad Photo Booth

    Walk Up, Pose, Print: A Self-Serve iPad Photo Booth

    The best event photo booth is the one nobody has to explain. A guest walks up, taps the screen, poses, and leaves with something to hold. That is the whole idea behind running ZillaBooth on an iPad, and it works the same way at a birthday, a wedding or a company night.

    What a guest sees

    The iPad sits on a stand with the camera screen open. A guest taps once and a countdown starts. Four photos are taken in a row, and then the finished picture appears, either a classic strip or a 2×2 grid, whichever layout you picked.

    From there they choose what happens next. They can print it, send it to themselves, or both. There is no app to install on their phone and no account to create. Strips and grids are free in the core app, with no watermark.

    That is why a self-serve booth works so well. Guests figure it out in about five seconds, and the host gets to enjoy the party.

    What you set up once

    Most of the work happens before the doors open. Put the iPad on a sturdy stand at chest height, near an outlet if you can. Pick your layout, take a test strip, and check the lighting on a face, not on an empty chair.

    If you want prints, you need a printer. Printing works on every tier through AirPrint, so any AirPrint printer on the same network is enough to get started. With Pro, Simple Printing adds a one-tap Print button for guests once you have chosen a printer. If you want the full walkthrough, our printing station guide covers placement and paper.

    If you would rather guests keep a digital copy, Pro adds Simple Email Sharing, which sends each guest’s photos from your own email address. Guests type their address, and the photos arrive in their inbox with your name on the sender line.

    Small things that keep the line moving

    A few habits make a big difference:

    • Put a small sign next to the iPad that says “Tap to start”. It saves a lot of questions.
    • Keep the printer within sight but out of the traffic path, so guests do not crowd the booth while they wait.
    • Add a second light if the room is dim. One lamp pointed at faces beats any amount of editing.
    • Check the paper and ink before the party, not during it.

    Who it suits

    A self-serve booth is a good fit anywhere guests mingle: weddings, milestone birthdays, retirement parties, holiday gatherings and office nights. If you are comparing options, the event photo booth app page shows how ZillaBooth fits different event types, and the Pro page explains what operators get when they run booths on a regular basis.

    Give it a try

    You can start without paying anything. ZillaBooth is free to download, and it turns the iPhone or iPad you already own into a four-shot photo booth. Set it up on a quiet evening, run a few test strips with whoever is nearby, and you will know exactly how your event will feel.

    Ready to try it? Download ZillaBooth from the App Store and run a test strip tonight.

  • iPad vs. The World: Turning Your Tablet into a Professional Kiosk

    iPad vs. The World: Turning Your Tablet into a Professional Kiosk

    The modern reception floor is the front line of any professional operation. It’s the first impression for clients, the central hub for deliveries, and the point of check-in for employees. In this high-traffic, high-stakes environment, the choice of a digital sign-in or informational display solution cannot be a compromise. You don’t need a consumer-grade tablet with a fancy stand; you need a dedicated, hardened, professional kiosk…a system that’s reliable, secure, and visitors can use themselves once Guided Access and Pro’s Hide Settings are on and the iPad is plugged in, from the first morning rush to the last night shift.

    This is where the combination of Apple’s iPad and the ZillaBooth Pro application delivers a solution that truly earns the title of “ultimate reliability.” What sets this setup apart is the clever, dual-layered use of the iPad’s native operating system features, specifically Guided Access, in conjunction with the application-level security provided by ZillaBooth Pro’s “Hide Settings” feature. Together, they transform a versatile consumer device into a bulletproof, single-purpose professional tool.

    The fundamental challenge with using any standard tablet as a kiosk is maintaining continuous, focused operation. Users are curious. A finger might swipe up to access the home screen, the device might dim and go to sleep during a lull, or a well-meaning but confused visitor might accidentally start adjusting the screen brightness or attempting to connect to a different Wi-Fi network. These small disruptions lead to system failure, requiring intervention from already busy staff. The goal is as few interventions as possible.

    The first critical step in building a self-serve kiosk is guaranteeing the screen stays on and the user cannot exit the application. On the iPad, that starts with Guided Access, Apple’s built-in accessibility feature. With ZillaBooth Pro and Guided Access or Single App Mode on, the screen stays on all event. Set Auto-Lock to Never and keep the iPad plugged in.

    Layer 1: Guided Access (Screen Stays On)

    Guided Access is Apple’s system-level kiosk mode. It is designed to lock the device into a single application and manage which hardware buttons and screen areas are active. This is the ultimate tool for turning a general-purpose tablet into a singular, dedicated digital device.

    Setting up Guided Access for a Bulletproof Kiosk:1. Access the Controls: Navigate to the iPad’s Settings app, tap on Accessibility, and then select Guided Access.
    2. Enable and Set Security: Turn the toggle switch ON. Crucially, tap on Passcode Settings and set a secure Guided Access Passcode. This passcode is the master key that will be required to exit the ZillaBooth Pro app or change any Guided Access settings. Using Face ID or Touch ID is highly recommended as a fast, secure alternative to the passcode for authorized staff.
    3. Activate the Kiosk Session: Open the ZillaBooth Pro application. Now, quickly triple-click the Home button (on older models) or the Side/Power button (on newer models). This action will bring up the Guided Access initiation screen.
    4. Configure Essential Options: Before hitting ‘Start’ in the top right corner, check the ‘Options’ menu in the bottom-left. This is where you disable all failure points.
    * Disable Sleep/Wake Button: This stops anyone from putting the screen to sleep with the physical button. To keep it on all day, also set Auto-Lock to Never in Settings > Display & Brightness and keep the iPad plugged in.
    * Disable Volume Buttons: Prevents users from accidentally muting the device or attempting to exit the app through any non-screen controls.
    * Disable Touch: While you generally need touch enabled for a kiosk, this option is vital for advanced troubleshooting. You can temporarily disable touch across the entire screen, allowing you to clean the screen or prevent interaction while a remote update is running.
    * Time Limit: Ensure this is disabled, as the kiosk must operate indefinitely.
    5. Start the Session: Tap ‘Start.’ The iPad is now entirely locked into the ZillaBooth Pro application. A triple-click of the button will only allow an exit upon successful entry of the Guided Access Passcode.Why Guided Access Creates the Ultimate Reliable Solution:

    The reliability is not merely functional; it is systemic. Guided Access is an operating system feature, meaning it overrides the application itself and all other potential system alerts. An application crashing, a rogue notification attempting to pull the user away, or even the device trying to update in the background will all be contained by the Guided Access fence. For a busy reception floor, the benefit is clear: the kiosk remains fixed on the ZillaBooth Pro interface, running hour after hour without anyone re-launching it, as long as the iPad stays plugged in. This level of system-enforced focus is unparalleled and forms the secure shell that contains the application.

    Layer 2: Locking Down the App with “Hide Settings”

    While Guided Access handles the external, system-level security…preventing the user from exiting the app…the ZillaBooth Pro “Hide Settings” feature handles the internal, application-level security.

    Every professional application has configurable settings, whether it’s changing the default language, adjusting camera settings for a photo booth feature, or re-configuring the Wi-Fi connection the app uses. These settings are crucial for management but represent a vulnerability in a self-serve, public environment. Even if a user cannot exit the app, they could potentially find an in-app path to tamper with the kiosk’s configuration, compromising data integrity or the user experience.

    The Role of ZillaBooth Pro’s “Hide Settings”:

    In ZillaBooth Pro, Hide Settings works on its own. Whenever Guided Access or Single App Mode is on, the Settings button disappears from the booth screen, so guests can’t reach your setup.

    How “Hide Settings” works in ZillaBooth Pro:1. There’s no switch to find. Hide Settings is automatic with Pro.
    2. Start Guided Access (or Single App Mode) on the iPad.
    3. The Settings button disappears from the booth screen while the iPad is locked to the app.
    4. Check it: the Settings button should be gone. To get it back, end Guided Access with your passcode.Why the Dual-Layer Approach Is Self-Serve and Secure:

    This two-pronged defense is what makes the iPad/ZillaBooth Pro solution a dependable self-serve setup. * External Security (Guided Access, screen stays on): Prevents unauthorized device interaction (exiting the app, turning off the screen, using system buttons). With Auto-Lock set to Never and the iPad plugged in, the device stays awake and running your app.
    * Internal Security (ZillaBooth Pro Hide Settings): Prevents unauthorized application interaction (changing your layout, overlay, or sharing settings). This ensures the integrity of your data and the consistency of the user experience.This combination lets visitors use the kiosk themselves with far less supervision. If a user tries to exit, they hit the Guided Access passcode lock. If a user manages to find an in-app configuration menu, the “Hide Settings” feature renders it inoperable. This cuts down on supervision and ensures the data you collect is never compromised by unauthorized configuration changes.

    The iPad vs. The World: Why iOS Wins the Kiosk War

    While other tablets exist, the iPad’s unique architecture and integration are essential to this robust self-serve solution, justifying its place in a professional environment:1. Unified OS and Hardware: Apple controls both the hardware and the software, ensuring that Guided Access is a perfectly integrated, rock-solid feature that is immune to the kind of software bugs or hardware inconsistencies that can plague third-party kiosk modes on fragmented operating systems.
    2. Predictable Power Management: The iPad’s power management is highly standardized, which is critical for long-term, always-on operation. You know exactly how the device will behave when plugged in for days or even weeks on end.
    3. Enterprise Aesthetic and Durability: iPads are built with high-quality components, offering a sleek, professional appearance that elevates the look of any reception floor. Their glass and aluminum construction is durable and easy to clean, critical for a high-touch, public-facing machine.
    4. Simplified Management: Once locked down, managing a fleet of iPads is simpler than managing a mixed environment. Set up one booth, and the next one takes the same few steps.In the fast-paced environment of a busy reception floor, every second spent troubleshooting a digital device is a second lost on core business operations. By implementing the technical tandem of the iPad’s Guided Access (with Pro, the screen stays on while it runs) and ZillaBooth Pro’s “Hide Settings,” you create more than just a tablet in a stand…you create a dependable, industrial-strength, self-serve digital receptionist. Set Auto-Lock to Never, keep it plugged in, and visitors can use it all day.

  • Guided Access + Auto-Lock: Keep Your Booth Screen On All Night

    Guided Access + Auto-Lock: Keep Your Booth Screen On All Night

    Midnight on the dance floor. The iPad dims. The line dissolves. Here’s how to keep that from happening: lock the iPad to ZillaBooth with Apple’s Guided Access. With Guided Access or Single App Mode on, the screen stays on all event. Set Auto-Lock to Never and keep the iPad plugged in.

    Keep Awake (Pro): with Guided Access, the booth screen stays on all event.

    The problem

    iOS power management assumes tablets sit idle on desks, not run a bright booth screen for six hours straight. Unexpected sleep breaks guest trust, slows the line, and sends you hunting for the side button while everyone watches. Long events need a plan for keeping the screen on.

    Why it matters

    • The screen stays on while Guided Access (or Single App Mode) is running
    • The booth stays visible in dim reception halls
    • No mid-line shutdowns from Auto-Lock, once it’s set to Never
    • Plugged into power, the iPad lasts through all-night weddings and festival hours
    • Pair with Auto-Restart so guests can run the booth themselves between sessions

    Who it’s for

    This setup is for every Pro operator running long events: wedding receptions past midnight, New Year’s Eve activations, venue installations, and anyone who has lost a booth to a dimmed screen at the worst moment.

    Real-world moments

    • A wedding booth stays on until after last call, with Guided Access on and the iPad plugged in
    • A New Year’s Eve party booth stays bright through the countdown and the biggest line of the night
    • A weekend venue installation stays guest-ready through long open hours

    How to set it up

    1. Turn on Guided Access in Settings → Accessibility → Guided Access and set a passcode. (On a dedicated booth iPad, you can use Single App Mode instead.)
    2. Set Auto-Lock to Never in Settings → Display & Brightness.
    3. Plug the iPad into power for the whole event.
    4. Open ZillaBooth and start Guided Access. With Pro, the booth screen stays on all event and Settings stay hidden while Guided Access is on.

    Add Auto-Restart and ambient status alerts, and you can focus on the event, not the tablet.

    The booth should outlast the dance floor—not nap during it.

    Does keeping the screen on drain the battery faster?

    Yes, a screen that stays on uses more power. Keep the iPad plugged in for all-night events.

    Do I still need Guided Access?

    Yes. The screen stays on only while Guided Access (or Single App Mode) is running, and Guided Access is also what keeps guests inside the app. Set Auto-Lock to Never as well.

    Which tier keeps the screen on with Guided Access?

    ZillaBooth Pro, a monthly or yearly subscription.

    Does it work with ambient status alerts?

    Yes. On the iPad Event Layout, Pro shows small on-screen badges for things like low battery or an offline printer, and with Guided Access on, the screen stays on so you can see them.