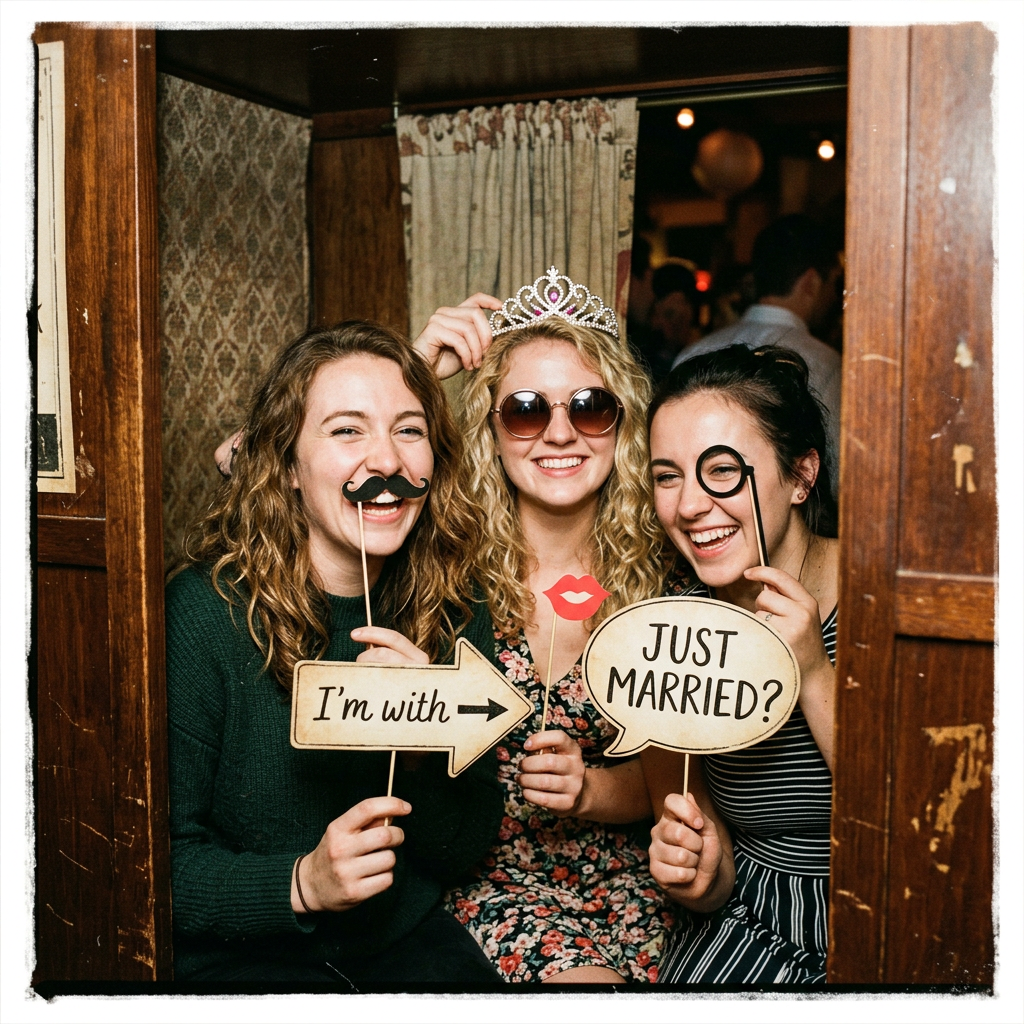
The allure of vintage is undeniable. There’s something captivating about stepping back in time…a fascination that extends beyond history books and into our celebrations, parties, and, most importantly, our photography. Whether you are hosting a Roaring Twenties jazz night, a Victorian tea, or a mid-century rockabilly rave, the right accessories transform a good theme into an unforgettable experience.
But here is the common problem: authentic, high-quality vintage props are either incredibly expensive or too fragile for a photo booth full of enthusiastic guests. That’s where the DIY approach saves the day. By crafting your own accessories, you can achieve that perfect, era-specific look with materials that are durable, customizable, and budget-friendly. This guide provides step-by-step instructions for creating three iconic, history-celebrating props…the must-have “Mustache on a Stick,” the timeless “Cloche Hat,” and the glamorous “Flapper Feather Headband”…all designed to be high-impact elements when viewed through the lens of a high-resolution camera setup, perfect for your next ZillaBooth session.
Why DIY Props? The ZillaBooth Difference
When you take a photo with a dedicated camera system like ZillaBooth, the high-definition capture and controlled lighting mean every detail counts. A store-bought prop often looks cheap or flat under a powerful flash. A handmade prop, however, carries a distinct texture and depth that translates beautifully to print and digital display. We are not just making props; we are creating tactile storytelling elements that enhance the visual narrative of your event.
Project 1: The Distinguished Gentleman’s Mustaches on Sticks
The mustache on a stick is the quintessential photo booth prop. It’s simple, universally recognizable, and instantly hilarious. The key to making it look vintage and high-quality lies in the material selection and the detailing.
Materials You Will Need: – Sheets of craft felt (Black, dark brown, and a deep charcoal gray…choose high-quality, thick felt for stiffness).
– Wooden dowels or bamboo skewers (approx. 10-12 inches long).
– Hot glue gun and extra glue sticks.
– Sharp fabric scissors.
– Free mustache templates (printable templates for styles like the Handlebar, Chevron, Walrus, and Toothbrush).Step-by-Step Crafting Guide:1. Prepare the Templates: Search online for free printable mustache templates. Print them out and cut the shapes from cardstock. The stiffness of the cardstock will allow you to trace the shapes more accurately. For a truly authentic vintage feel, select styles from the late 19th century through the 1920s.
2. Cut the Felt Layers: Place your cardstock templates onto the felt. Use a chalk pencil or a fine-tipped marker to trace the outline. You will need to cut two identical pieces of felt for every single mustache. Cutting two layers and gluing them together is the secret to creating a prop that is stiff, durable, and won’t flop over in front of the camera. Cut the felt shapes carefully with sharp scissors to ensure clean, crisp edges that define the style of the mustache.
3. Construct the Prop: Heat up your hot glue gun. Lay one felt piece flat, then run a line of hot glue directly down the center. Immediately place the tip of the wooden dowel (or skewer) onto the glue line, extending the dowel down to the bottom edge of the felt. Add another thin layer of glue over the portion of the dowel that is sitting on the felt.
4. Final Assembly: Quickly take the second identical felt piece and align it perfectly over the first piece, sandwiching the dowel and the glue in between. Press firmly across the entire mustache. This bonding process must be fast while the glue is hot. Once dried, you should have a firm, dual-layered prop that holds its shape beautifully.
5. Finishing Touches: While not necessary, you can lightly mist the felt mustaches with a fabric stiffener spray to give them extra resilience against moisture and handling.Project 2: The Roaring Twenties Cloche Hat (Simplified DIY)
The cloche hat, French for “bell,” was the height of fashion in the 1920s. Characterized by its close-fitting crown and small, downward-sloping brim, it is surprisingly easy to replicate for prop use without getting into complex millinery. This is a minimal-sew or no-sew project.
Materials You Will Need: – A large piece of stiff, dark felt (wool blend or heavy synthetic is best), or a simple, cheap felt beanie.
– A large, round mixing bowl (the bowl must be slightly smaller than the head size you want).
– Fabric stiffener spray (or a mixture of cornstarch and water).
– Ribbons (velvet or grosgrain ribbon, about 1-2 inches wide, to wrap the crown).
– Embellishments (a small fabric flower, a cluster of beads, or a simple feather).
– Hot glue gun or strong fabric glue.Step-by-Step Crafting Guide:1. Prep and Shaping (The Crown): If you are using a flat piece of felt, you will need to shape the dome of the hat. A simple way is to use the mixing bowl as a form. Drape the felt over the inverted bowl. The goal is to get the felt to conform to the rounded shape.
* The Stiffening Method: Once draped, spray the exposed felt heavily with fabric stiffener (or brush on your cornstarch/water mixture). Let it dry completely. The felt will hold the dome shape of the bowl. Alternatively, for a no-stiffener method, purchase a ready-made, inexpensive felt beanie and simply fold and glue the brim inward and upward to create the downward slope of the cloche.
2. Creating the Cloche Edge: The defining feature of the cloche is its deep, downward slope, which often came right down over the eyebrows.
* For Shaped Felt: Once the felt is dry and stiff, cut a circular piece large enough to cover the top of the head form and extend 2-3 inches past the base of the bowl. You can then gently fold this excess felt downward and inward, securing the shape with tiny dabs of glue on the inside. You are creating the “bell” shape.
* For Beanie: Pull the beanie onto a foam head or the mixing bowl. Pull the edge down and pin it so it sits at a slightly unnatural, deep angle…this is the cloche look. Secure the fold with fabric glue or a few quick stitches.
3. Adding the Signature Band: In the 1920s, the ribbon band was essential and was often decorated. Cut a length of ribbon long enough to wrap around the base of your newly shaped felt hat. Secure the ribbon band with hot glue. Make sure the seam where the ribbon meets is neat, as this is where your embellishment will go.
4. The Embellishment: Glue your chosen embellishment…the fabric flower, beadwork, or feather…directly over the ribbon seam. This instantly elevates the prop from a plain hat to a period-accurate accessory. The high-contrast lighting of the ZillaBooth will pick up the textures of the ribbon and the sparkle of the beads, ensuring the prop stands out in the final image.Project 3: The Classic Flapper Feather Headband
For a prop that is pure glamour and requires almost no skill, the feather headband is a perfect choice, embodying the spirit of Art Deco exuberance.
Materials You Will Need: – A length of black, gold, or silver elastic or sequined ribbon (long enough to wrap around the head).
– A large, single-plume ostrich or peacock feather (these are inexpensive at craft stores).
– Rhinestones, costume jewels, or a small brooch.
– Hot glue gun.Step-by-Step Crafting Guide:1. Measure and Cut the Band: Measure the elastic or ribbon to fit comfortably around a typical adult head. Glue the ends together to form a seamless loop. If you are using plain ribbon, you can glue a line of rhinestones to the front center to create a focal point.
2. Attach the Focal Point: The feather must be placed high on the side of the head, near the temple. Use a generous amount of hot glue to secure the stem of the feather directly to the ribbon or elastic band. Hold it firmly until the glue sets.
3. Conceal and Finish: Glue your brooch or cluster of jewels/rhinestones directly over the base of the feather stem. This covers the messy glue connection and adds the essential sparkle that defines the flapper era. The high shine of the rhinestones will catch the light perfectly in the photo booth.Prop Use and ZillaBooth Tips
A well-made prop needs to be used correctly to maximize its impact in the final photo. When directing guests or preparing for your own photo session, remember the unique qualities of the props you’ve created: – Mustaches: Encourage users to hold the mustache slightly away from the face, letting the light cast a slight shadow for a dramatic, editorial look. The prop should frame the mouth, not hide it.
– Cloche Hat: Since the hat is designed to sit low, instruct users to tilt their head back slightly to ensure their eyes are visible and not completely obscured by the brim. This pose instantly mimics the posture of the 1920s.
– Headbands: The feather should be positioned so that it breaks the silhouette of the head. In group photos, this adds dynamic vertical variation.The beauty of these DIY vintage props is that they introduce an element of intentional, handcrafted imperfection that contrasts wonderfully with the crisp, clean output of a professional photo booth like ZillaBooth. They are not merely accessories; they are conversation pieces that capture the fun, history, and craft behind your themed celebration. So gather your supplies, fire up that glue gun, and start crafting the history you want to celebrate…one perfectly styled, ready-for-its-close-up prop at a time.