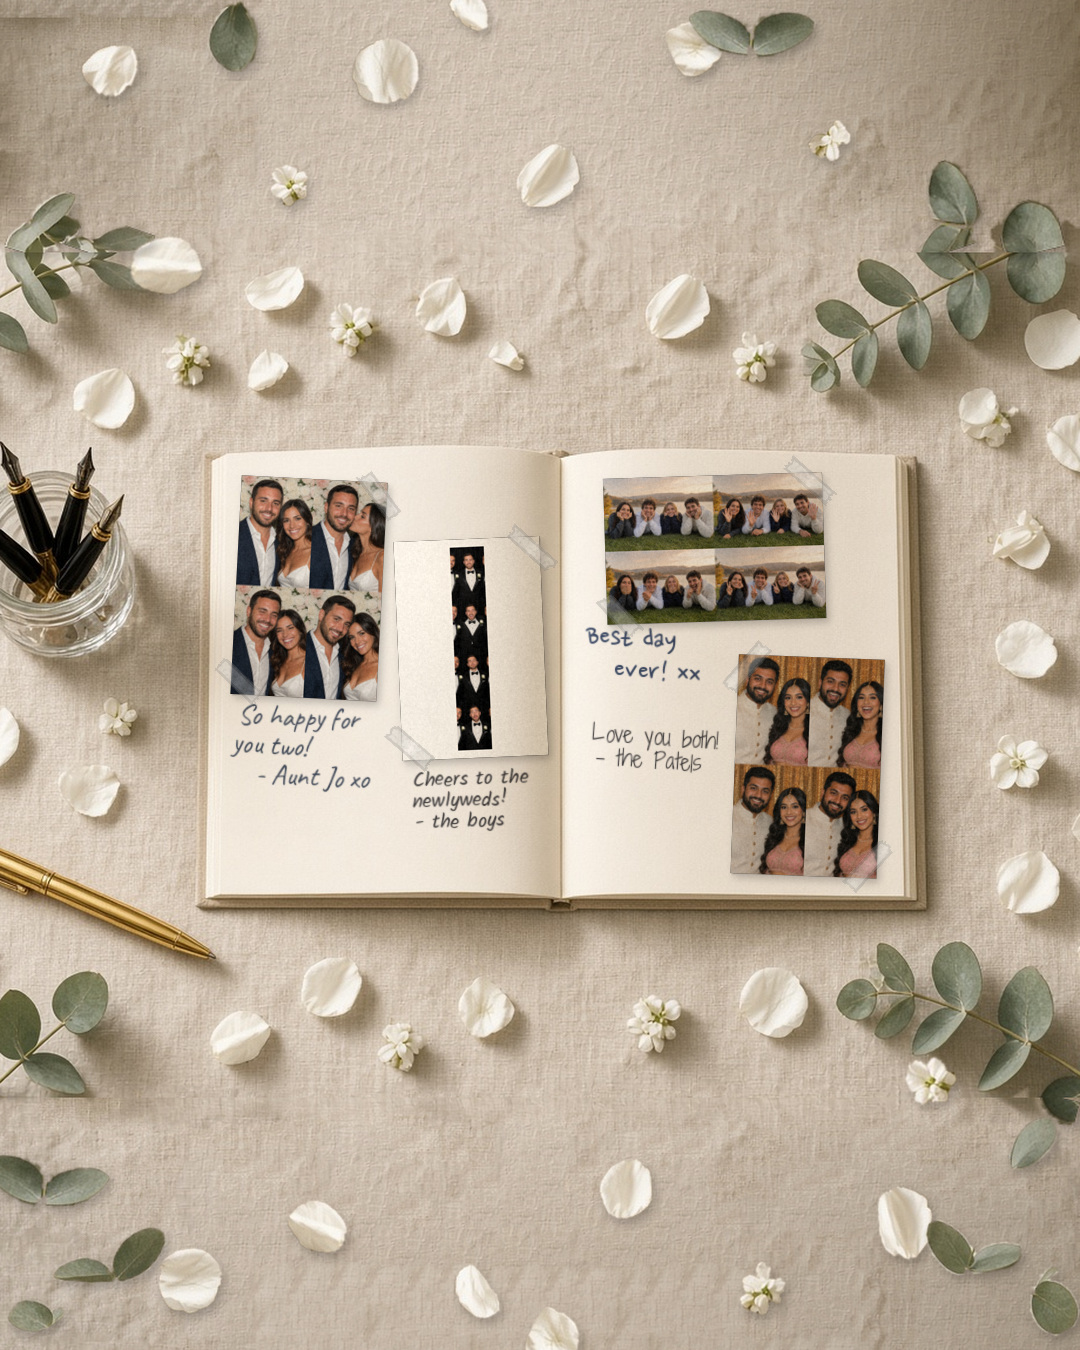
A classic guest book has a problem. By the end of the night, the pages are a mix of neat signatures and hurried scribbles, and half the guests have no idea what to write. A photo guest book solves that by giving every group a face and a reason to leave a note.
How it works
Set an iPad photo booth next to the guest book table, with a printer beside it. Each group takes their four photos, prints the strip or 2×2 grid, tapes it into the book, and writes a line next to it. Years from now, you will not just have a name, you will have a face and a handwritten message.
It is a small change, but it gives the guest book table a purpose. People wander over, take a photo, and stay for a minute.
What you need
An iPad on a stand with ZillaBooth open.
An AirPrint printer and enough paper for the guest list.
A guest book with plenty of blank pages. Thick paper holds tape better.
Photo corners or double-sided tape.
A few pens in a jar, so no one hunts for one.
Strips or grids?
Both work well. ZillaBooth makes a classic 1×4 strip or a 2×2 grid. A 1×4 strip prints on its own, centered on the paper, so you will want to trim it to size before taping it in. A 2×2 grid is squarer and easier to fit on a page. If you want to compare, our post on the 2×2 grid explains why it stays popular.
Think about the page layout too. A grid and a strip can share a spread, with a note under each.
Printing at the table
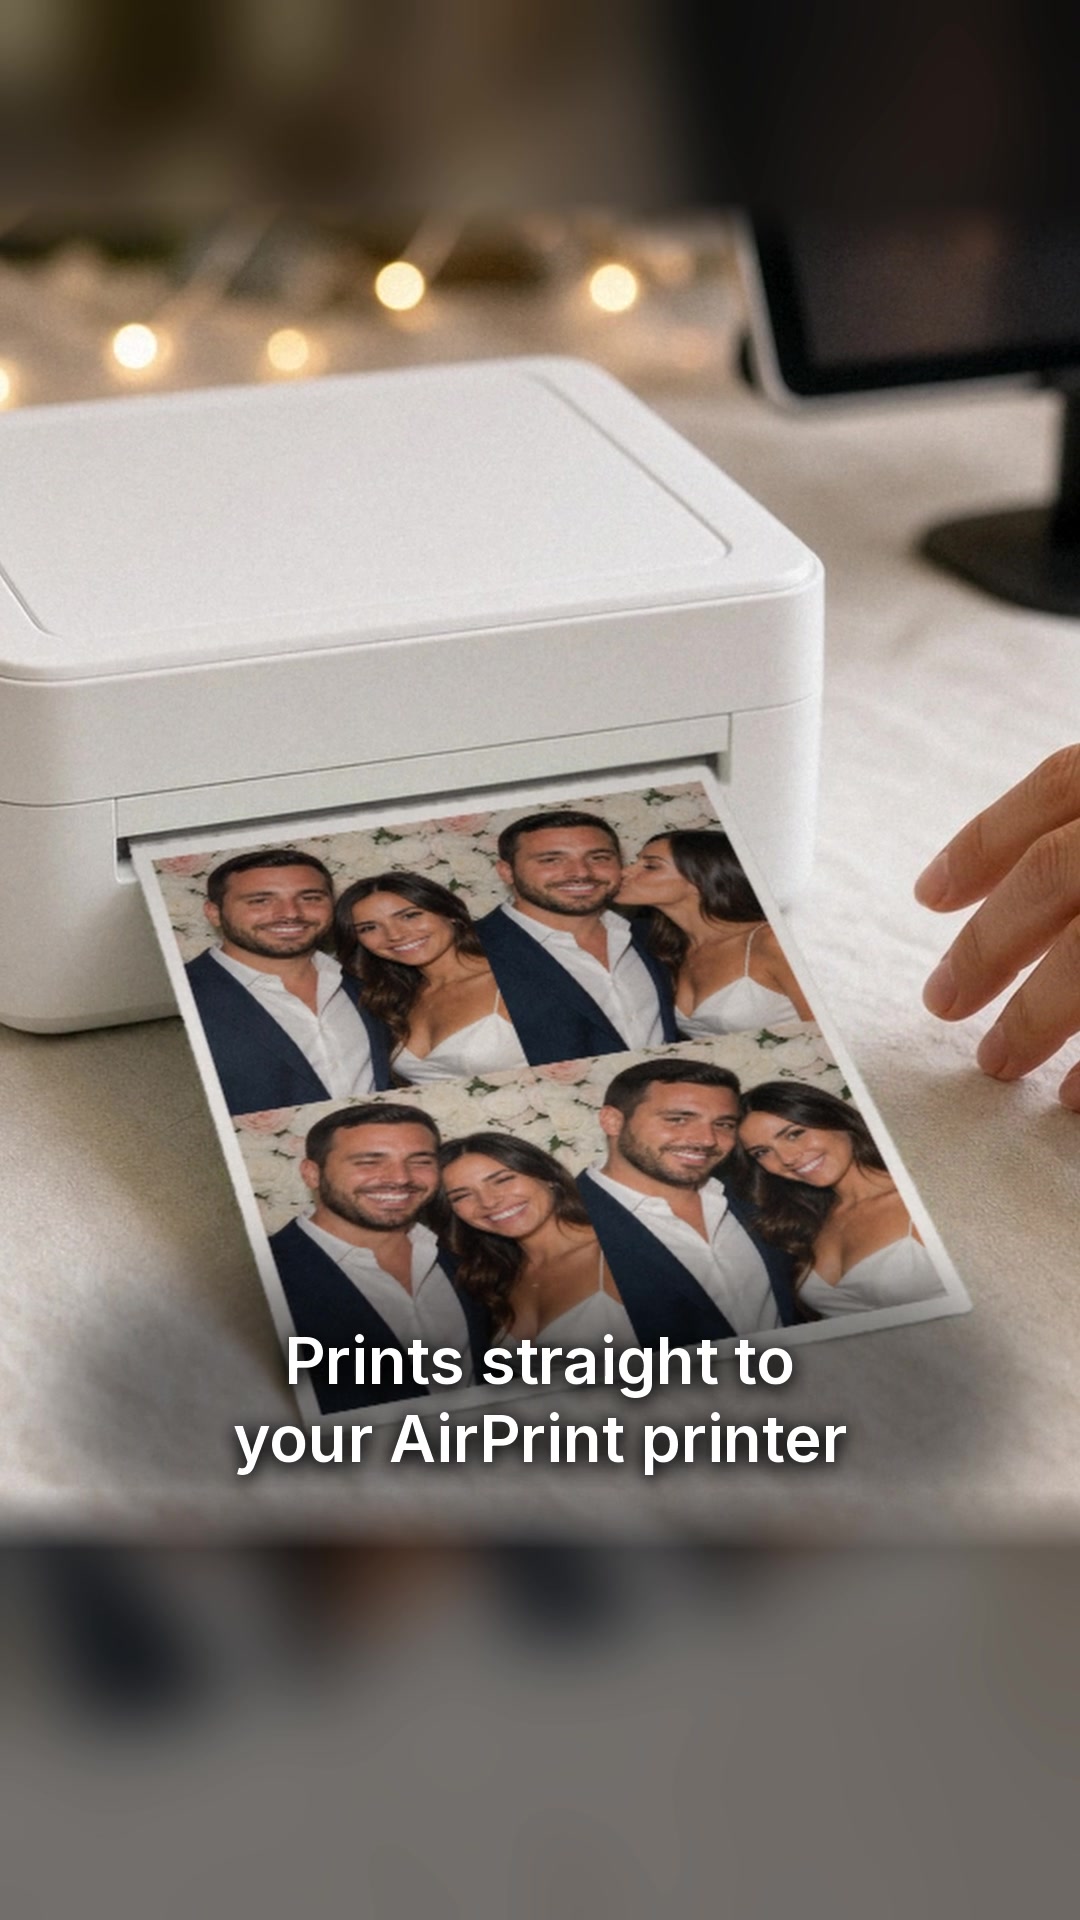
Printing works on every tier through AirPrint, and Pro adds Simple Printing, a one-tap Print button once you have chosen a printer. Guests can still send themselves a copy too. With Pro, Simple Email Sharing sends the photos from your own email address, so guests get a copy and the print stays with you.
Make the table inviting
A few touches help:
Put a small sign next to the iPad: “Take four photos, tape one in, sign beside it.”
Keep the printer where guests can see it work. The little moment of waiting becomes part of the fun.
Leave a handful of pages near the front for the wedding party, who tend to arrive first.
Add a small tray of tape and scissors so nobody fumbles.
Planning the flow
Place the guest book near the cocktail hour area rather than at the entrance. That way guests have time to take a photo without blocking the door. If the cocktail hour is short, a small table in the reception room works as well.
Have a friend check the table at the start of the evening and restock paper once during the night. After that, it should run on its own momentum.
A keepsake you will actually open
Guest books often end up on a shelf. A photo guest book tends to come off the shelf, because it is full of faces. Couples often say the best part is flipping through years later and finding someone they had not seen in a while.
You can see how couples use ZillaBooth at weddings on the wedding photo booth page, and the Pro page shows the print and email extras.
When you are ready, take a look at ZillaBooth Pro or start with the free app and print a test strip for your own book.
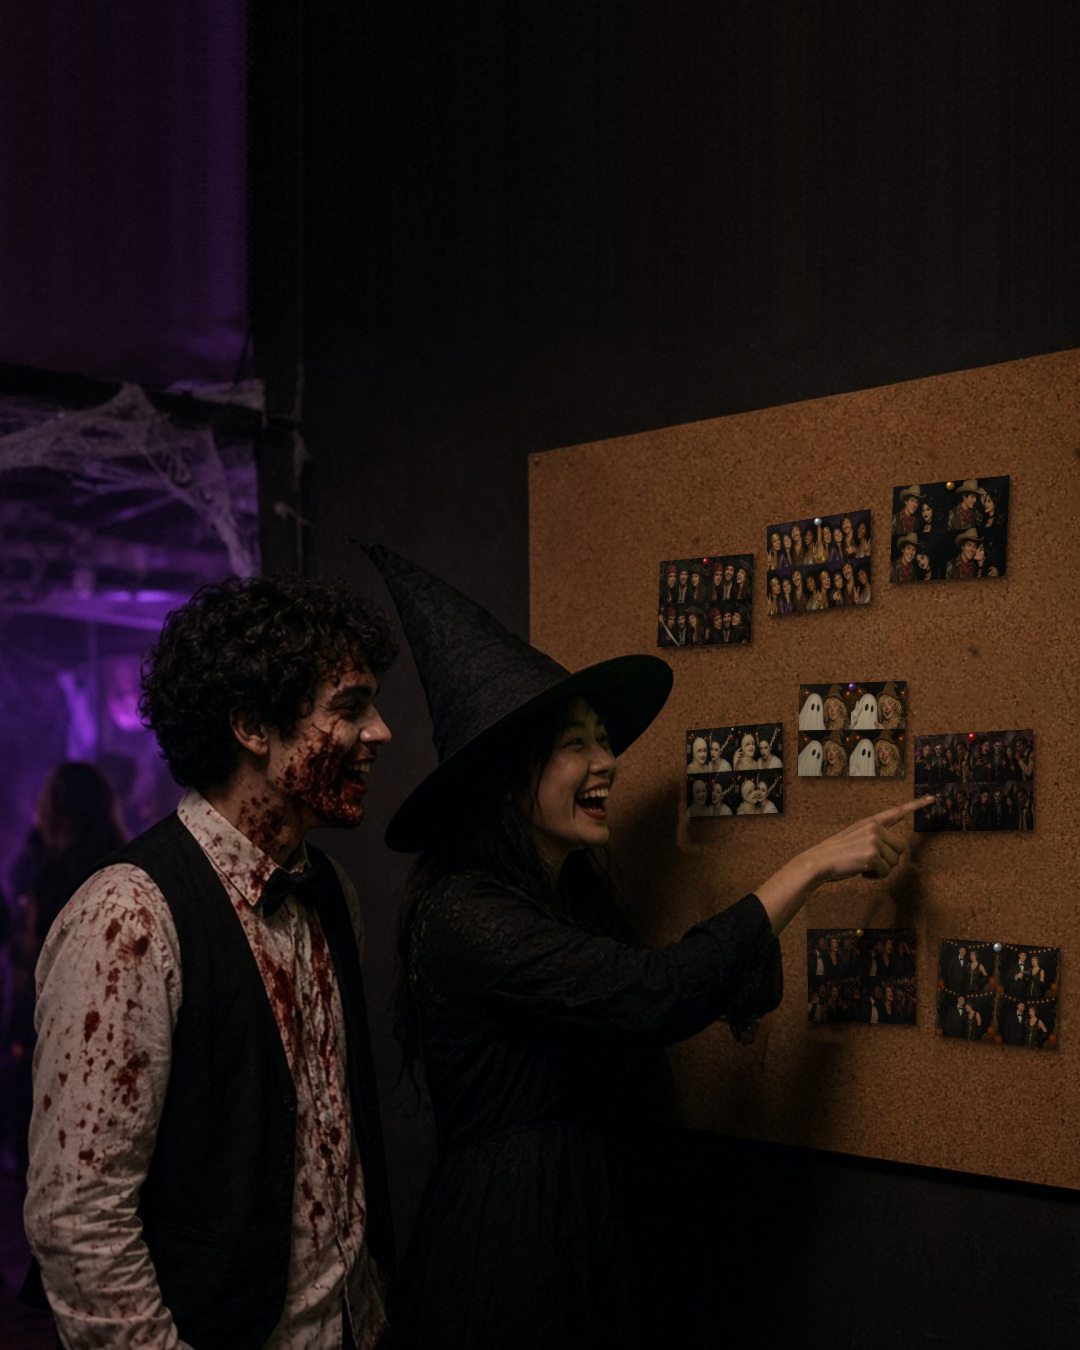
Every Halloween party has the same awkward moment around 10 pm. Someone has to announce the costume contest, a handful of people shout over the music, and the vote comes down to whoever has the loudest friends. A photo booth fixes that, and it gives you a keepsake for every guest at the same time.
The idea in one sentence
Put an iPad photo booth next to a printer and a corkboard. Every group prints its four-photo grid and pins it to the wall. At the end of the night, the room votes.
What you need
An iPad on a stand, running ZillaBooth.
An AirPrint printer on the same Wi-Fi network.
A corkboard or a stretch of wall, plus pins or tape.
A pen and a few slips of paper, or a jar of stickers, for voting.
That is the whole list. If you can find a small stand light, add it. Halloween rooms are dim and a little light in front of the booth makes costumes and makeup much easier to see.
Set it up
Place the booth where people can see it from the party but not so close to the speakers that nobody hears the countdown. Put the printer on a side table nearby, and put the corkboard right beside it so people can pin their prints the moment they come out.
Open ZillaBooth and choose the 2×2 grid. A grid is better than a strip for group costumes, because every frame can hold the whole group. Take a test print with the host’s family before guests arrive.
Printing works on every tier through AirPrint, and Pro adds Simple Printing, a one-tap Print button, so guests do not have to wait at the printer. If you do not have a printer, guests can still share their photos from the iPad, and you can pin a printout of the winners later.
Run the contest
Give each group a number or a name on a small card to pin beside their grid. Voting can be as simple as one sticker per guest. Set a time, say 11 pm, and let people walk the wall with their drink and pick a favorite.
A few ways to make it more fun:
Add categories: funniest, scariest, best group, best last-minute costume.
Ask each group to strike one pose that shows what the costume is supposed to be.
Take the winning grids down and keep them. They make a nice memory of the night, and you can photograph the whole wall for the group chat. If you plan to host again next year, you will already know how to set it up in ten minutes.
Keep it simple
You do not need a big budget or a rented booth to do this. A phone or an iPad is enough, and ZillaBooth’s classic strips and 2×2 grids are free, with no watermark. If you want more control over timers and flash for a dark party room, the Pocket upgrade adds both. You can also see how the same idea works for larger gatherings on the event photo booth app page.
The best event photo booth is the one nobody has to explain. A guest walks up, taps the screen, poses, and leaves with something to hold. That is the whole idea behind running ZillaBooth on an iPad, and it works the same way at a birthday, a wedding or a company night.
What a guest sees
The iPad sits on a stand with the camera screen open. A guest taps once and a countdown starts. Four photos are taken in a row, and then the finished picture appears, either a classic strip or a 2×2 grid, whichever layout you picked.
From there they choose what happens next. They can print it, send it to themselves, or both. There is no app to install on their phone and no account to create. Strips and grids are free in the core app, with no watermark.
That is why a self-serve booth works so well. Guests figure it out in about five seconds, and the host gets to enjoy the party.
What you set up once
Most of the work happens before the doors open. Put the iPad on a sturdy stand at chest height, near an outlet if you can. Pick your layout, take a test strip, and check the lighting on a face, not on an empty chair.
If you want prints, you need a printer. Printing works on every tier through AirPrint, so any AirPrint printer on the same network is enough to get started. With Pro, Simple Printing adds a one-tap Print button for guests once you have chosen a printer. If you want the full walkthrough, our printing station guide covers placement and paper.
If you would rather guests keep a digital copy, Pro adds Simple Email Sharing, which sends each guest’s photos from your own email address. Guests type their address, and the photos arrive in their inbox with your name on the sender line.
Small things that keep the line moving
A few habits make a big difference:
Put a small sign next to the iPad that says “Tap to start”. It saves a lot of questions.
Keep the printer within sight but out of the traffic path, so guests do not crowd the booth while they wait.
Add a second light if the room is dim. One lamp pointed at faces beats any amount of editing.
Check the paper and ink before the party, not during it.
Who it suits
A self-serve booth is a good fit anywhere guests mingle: weddings, milestone birthdays, retirement parties, holiday gatherings and office nights. If you are comparing options, the event photo booth app page shows how ZillaBooth fits different event types, and the Pro page explains what operators get when they run booths on a regular basis.
Give it a try
You can start without paying anything. ZillaBooth is free to download, and it turns the iPhone or iPad you already own into a four-shot photo booth. Set it up on a quiet evening, run a few test strips with whoever is nearby, and you will know exactly how your event will feel.
The “Share & Print” Workflow: Achieving Instant Photo Gratification
In the fast-paced world of photo booth events, nothing satisfies a guest more than the instant gratification of a printed photo strip they can hold in their hands just moments after they strike a pose. For photo booth operators and event hosts, however, setting up a reliable, high-speed printing station can often feel like a complex wiring and software nightmare. But it doesn’t have to be.
We’re introducing the “Share & Print” Workflow…the definitive guide to establishing a bulletproof printing station using ZillaBooth Pro’s Simple Printing feature, which gives guests a one-tap Print button, paired with the everyday simplicity of Apple’s AirPrint technology. This combination strips away the complexity, ensuring your guests get their prints instantly, every single time.
Understanding the “Instant Gratification” Goal
The primary goal of the “Share & Print” Workflow is speed and reliability. Aim for prints in under about 30 seconds; printer choice matters most. Achieving this requires eliminating bottlenecks…namely, complex driver installations, USB cable management, and manual print queuing.
The traditional photo booth setup often involves a computer tethered via USB to a dedicated dye-sublimation printer. While reliable, this locks the operator to a single workstation. The “Share & Print” workflow liberates your host device (an iPad or iPhone running ZillaBooth Pro) by making the whole process wireless and close to hands-off. When a guest taps Print (or Send & Print), ZillaBooth sends the job, and AirPrint handles the communication…the photo simply appears.
The ZillaBooth Pro Simple Printing Advantage
Simple Printing (Settings → Pro → Simple Printing) is the brain of this operation. Pick one AirPrint printer, switch the toggle on, and from then on a guest’s Print or Send & Print tap sends the finished collage (a 2×2 grid or a 1×4 strip) straight to it.
What Simple Printing gives you: * Zero Operator Intervention: The guest taps Print themselves. Nobody has to stand at the printer or send jobs by hand.
One Tap, One Print: Each print job is a single copy. If a group wants more than one, they can simply run another session.
Fail-Safe Queuing: ZillaBooth checks your printer about once a minute. If it goes offline, prints wait in a queue and go out automatically when it’s back (up to 3 attempts per job). You can also retry from the Print Queue.
Why AirPrint is Essential for Simplicity
AirPrint is Apple’s native network printing technology. It is a communication protocol that allows Apple devices to find and print to compatible printers over a Wi-Fi network without requiring any driver installation or configuration. In the context of a live event, this is a monumental time-saver and a massive boost to reliability.
Because ZillaBooth Pro runs on an Apple device (iPad or iPhone), an AirPrint-compatible printer instantly becomes a plug-and-play solution. There are no finicky drivers to install, no operating system compatibility issues, and no dedicated print server software needed. It’s a pure, clean, network-based transaction.
Hardware Deep Dive: Recommendations for Reliability
The “Share & Print” Workflow hinges on three core pieces of hardware: the Host Device, the Printer, and the Network.1. The Host Device (Running ZillaBooth Pro):
* **Recommendation:** An iPad Pro or late-model iPhone. These devices have robust Wi-Fi chips that ensure stable network connections for AirPrint jobs. They also handle ZillaBooth Pro’s high-resolution image processing with ease.
The AirPrint-Compatible Printer:
This is the most critical and often the most confusing choice. For a true “instant gratification” station, you need a balance of speed, quality, and consumables cost.
The Gold Standard (Dye-Sublimation): For professional photo booth use, a dye-sublimation (dye-sub) printer is non-negotiable. They offer water-resistant, durable prints that emerge completely dry, and they are blisteringly fast (often 8-15 seconds per 4×6 print).
Top Models: DNP DS620A or DS820A.
AirPrint Caveat: Most high-end dye-sub printers are not natively AirPrint compatible. To integrate them into the “Share & Print” Workflow, use DNP’s WCM-Plus print server, which makes supported DNP printers (DS620A, DS820A, QW410, DS-RX1HS, DS40, DS80) show up as AirPrint printers. Setup steps are in our DNP + WCM-Plus guide.
The Simple/Budget Option (Inkjet): For small, casual events or budget-conscious setups, a high-quality, AirPrint-certified inkjet photo printer is the simplest choice.
Top Models: Canon PIXMA Pro or specific Epson Expression models.
Disadvantage: Slower print speed, consumable ink/paper costs are higher per print, and prints are less durable than dye-sub prints.
The Network Setup:
Reliability is paramount, meaning you should never rely on the venue’s public Wi-Fi.
Recommendation: Dedicated Wireless Access Point (WAP): Purchase a small, travel-sized wireless router (e.g., a GL.iNet router). This device creates a private, isolated, high-speed Wi-Fi network dedicated only to your photo booth equipment.
Setup: The WAP broadcasts a private network (e.g., “ZillaBooth Network”). Your iPad and your AirPrint-compatible printer both connect to this network. This eliminates interference from guest phones, venue networks, and other potential Wi-Fi clutter. It is the single biggest thing you can do for reliable AirPrint.Step-by-Step Tutorial: Setting Up the Simple Printing Workflow
Once your hardware is assembled, setting up the seamless workflow takes less than ten minutes.
Step 1: Printer and Network Initialization1. Connect the Printer: Power on your printer. If it is a native AirPrint device, follow its manual to connect it to your dedicated WAP network. If you are using a DNP dye-sub printer, connect it to the WCM-Plus unit and put the WCM-Plus on the same WAP network. 2. Connect the Host Device: Connect your iPad/iPhone running ZillaBooth Pro to the exact same dedicated WAP network.Step 2: ZillaBooth Pro Configuration1. Open ZillaBooth Pro: Launch the app and open Settings → Pro → Simple Printing. 2. Select Printer: Tap Configure Simple Printing, then Select Printer. The app should automatically detect any AirPrint-enabled printers on the network. Select your desired printer from the list (e.g., your DNP printer via WCM-Plus, or a Canon PIXMA). 3. Turn On Simple Printing: Back in the same menu, switch the Simple Printing toggle on. 4. Decide on Email: Leave email off for a print-only booth (guests see a Print button), or turn on Simple Email Sharing so guests choose Send or Send & Print. Simple Printing works either way.Step 3: Final Test Run1. Start a Session: Begin a photo session in ZillaBooth Pro. 2. Complete the Countdown: Pose for the four shots, then tap Print (or Send & Print) on the collage screen. 3. Monitor the Queue: The job goes to the printer right away. If you’ve turned on the Confirmation Animation, an emoji celebration rains across the screen the moment the guest taps Print. 4. Instant Gratification: The print job immediately transfers to the printer, and the photo should emerge in seconds.
Troubleshooting and Advanced Tips
The Print Job Fails to Send: The overwhelming majority of AirPrint issues stem from the network. * The Fix: Double-check that your iPad/iPhone and your AirPrint-enabled printer/bridge are connected to the same dedicated Wi-Fi network. Restarting the WAP, the printer, and the iPad in that order often clears transient network errors. My Dye-Sub Printer Isn’t AirPrint Compatible: This is the most common professional hurdle.
* The Fix: For DNP printers, use DNP’s WCM-Plus (supported models: DS620A, DS820A, QW410, DS-RX1HS, DS40, DS80). Homemade bridges, such as a Raspberry Pi running CUPS, are not supported. Best Practices for High-Volume Events: * Pre-Print Calibration: Before every event, run 5-10 test prints to confirm color, cut, and network stability.
Manage Consumables: Always have spare paper and ribbon/ink on hand. Once guests discover the Print button, you’ll be printing more than you think.
Printer Placement: Place the printer close to the host device (within 20 feet) and ensure line-of-sight to your dedicated WAP for maximum signal strength and speed.By combining ZillaBooth Pro’s one-tap Simple Printing with the driverless simplicity of AirPrint and a dedicated network, you transform your photo booth operation. You move from a complicated wired mess to a sleek, wireless “Share & Print” machine that delivers on the promise of instant photo gratification, ensuring delighted guests and a smooth, stress-free event for you.
Digital shares are nice. A physical strip in hand is the moment guests grin and wave it at friends across the room. Simple Printing gives guests a one-tap Print button, so they get that instant takeaway without a volunteer chained to the printer.
Available in ZillaBooth Pro.
The problem
Manual print workflows break down under volume: wrong printer selected, queue stalls, guests walk away before pickup. Operators lose the magic moment when digital-only booths forget that booths are tactile experiences. You need reliable printing that guests can start themselves and that keeps pace with the line.
Why it matters
Guests tap Print (or Send & Print) and the collage goes straight to your printer
Deliver instant physical takeaways guests expect from pro booths
Reduce manual operator steps during high-traffic events
Pair it with the Confirmation Animation: an emoji celebration rains across the screen the moment a guest taps Print or Send & Print
Works with AirPrint printers, plus supported DNP dye-sub printers through WCM-Plus
Who it’s for
Simple Printing is core to ZillaBooth Pro workflows: wedding booth businesses, corporate experiential teams, venues offering print-inclusive packages, and hosts who want rental-style takeaways without rental pricing.
Real-world moments
A wedding booth prints a strip whenever a guest taps Print, for the guest book table and take-home favors
A trade show activation pairs lead capture with instant printed collages
A holiday party prints 2×2 grids while guests share digitally in parallel
How ZillaBooth delivers
With ZillaBooth Pro, Simple Printing (Settings → Pro → Simple Printing) sends the finished collage to your chosen AirPrint printer the moment a guest taps Print or Send & Print—no manual export step between guests. Combined with overlays, Simple Email Sharing, and the Confirmation Animation, it recreates the full pro booth deliverable loop on iPad hardware you control.
The best booth moment is the one guests hold in their hand.
Any AirPrint printer on the same Wi-Fi network as your iPad or iPhone. DNP dye-sub printers (DS620A, DS820A, QW410, DS-RX1HS, DS40, DS80) work through DNP’s WCM-Plus; see the DNP + WCM-Plus guide.
Can guests skip printing if they only want digital?
Yes. In a print-only booth, guests just tap Print. With email turned on, they choose Send (email only) or Send & Print.
Do printed collages include my overlay?
Yes. Overlays render into finished output before print jobs queue.
Which tier includes Simple Printing?
ZillaBooth Pro is a monthly or yearly subscription, and you can see current pricing in the app. It sits alongside the iPad kiosk tools and the other event features.