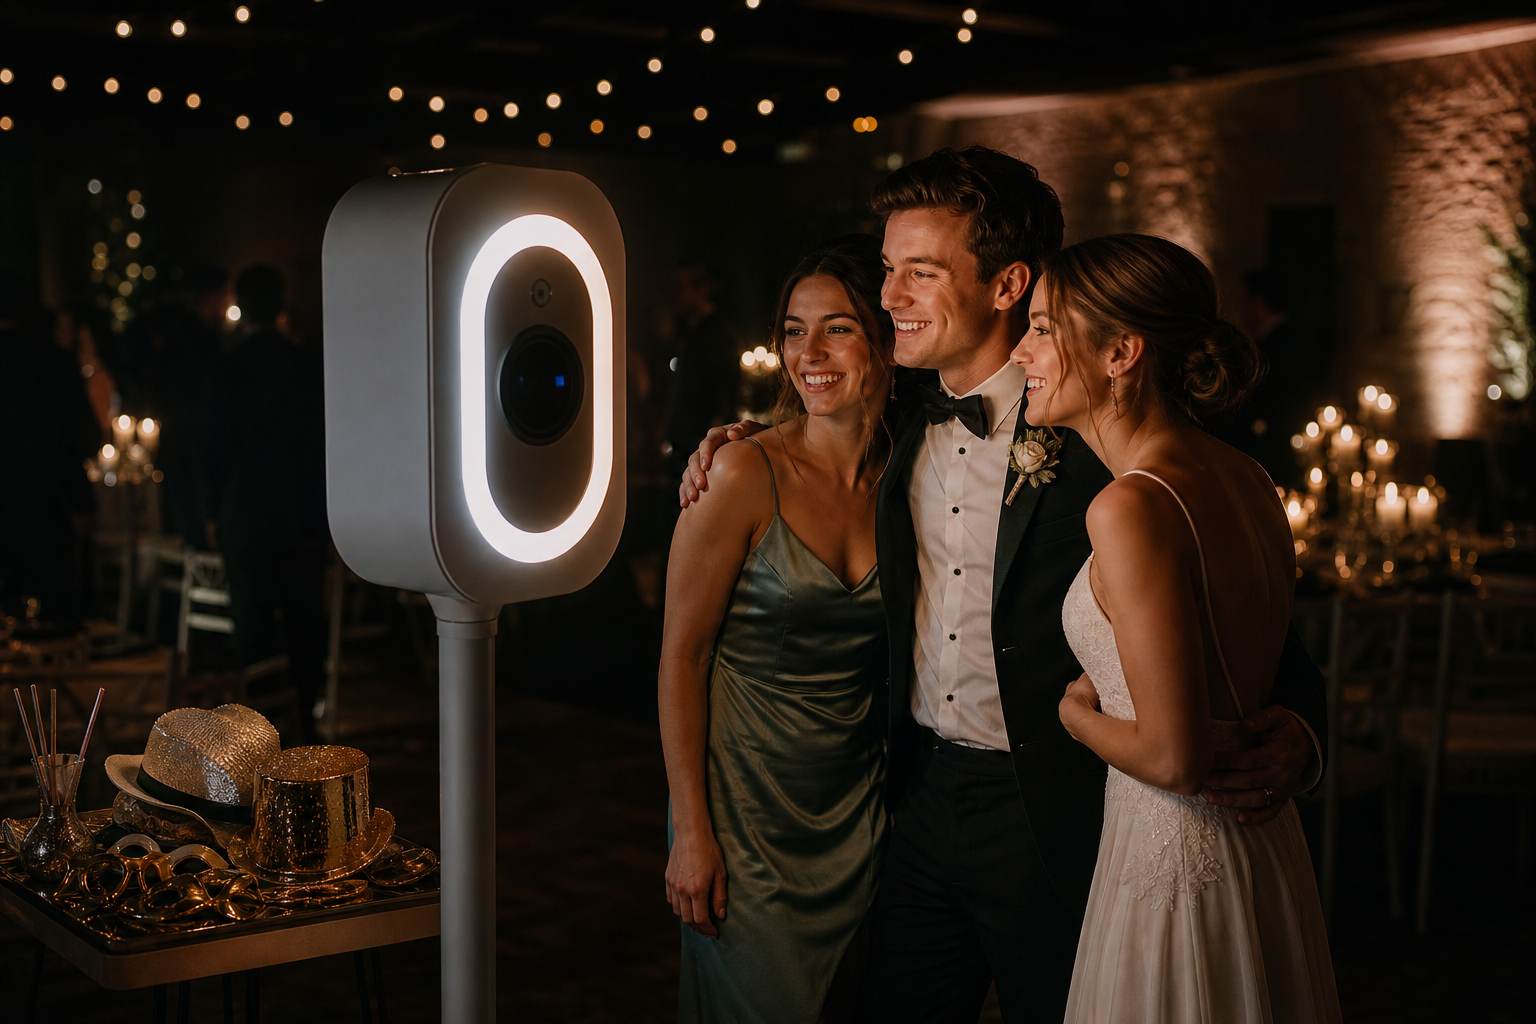
The days of harshly lit, sterile-looking event spaces are over. A major, undeniable shift has taken place in the event industry, particularly in weddings and milestone celebrations: the rise of the atmospheric, low-light ceremony and reception. This aesthetic, characterized by hundreds of flickering candles, string lights, dramatic uplighting, and strategically placed spot lamps, creates an air of romance, intimacy, and sophisticated moodiness that guests adore. It’s a photographer’s dream for ambiance, but it can quickly become a photo booth operator’s nightmare.
If you’re running a DIY photo booth like ZillaBooth…a system celebrated for its portability and professional-grade results…you know that great photos rely on one thing above all else: great lighting. When you introduce a powerful, non-diffused light source like a standard camera flash into a carefully curated low-light environment, you risk blowing out the atmosphere. However, if you rely on the venue’s dim lighting, you’ll end up with dark, grainy, blurry, and frankly unusable photos.
The good news? You don’t have to choose between a moody ambiance and delivering stellar photo booth strips. By understanding the fundamentals of lighting control and leveraging specific tools with your ZillaBooth, you can conquer any dark reception hall and turn the low-light setting into an artistic advantage. We’re going to break down two essential, yet distinct, strategies for achieving flawless results: the consistent, soft glow of the ring light and the high-contrast drama of the Pro “Flash Control.”
Strategy 1: The Ring Light … Simple, Soft, and Effective
For operators seeking a classic, flattering, and instantly recognizable photo booth look, pairing your ZillaBooth with a dedicated, high-quality ring light is the best strategy. The ring light offers a consistent, diffuse, and shadow-minimizing light source that is perfect for low-light conditions because it adds light without destroying the existing mood.
Selecting the Right Ring Light
Not all ring lights are created equal. When operating in a low-light venue, you need control and power. Look for a model that meets these specifications:1. Large Diameter (18-20 inches): A larger light source is a softer light source. A wider diameter ensures the light wraps around the subject’s face, reducing harsh shadows and creating the signature, attractive circular catchlights in the eyes.
2. Adjustable Color Temperature (Bi-Color): This is non-negotiable for working in moody venues. Low-light spaces often use warm (amber/yellow) tungsten or LED lighting (typically 2700K-3500K). To prevent your photo booth subjects from looking blue or cold, you need to match the ambient warmth. A bi-color ring light allows you to dial in the color temperature from cool white (daylight, ~5500K) all the way down to a warm tungsten glow (~3200K). Match the light to the venue’s color scheme for a cohesive, professional look.
3. Variable Dimming: Being able to adjust the brightness from 10% to 100% is crucial. In a very dark room, you may need it at 80% or higher. If the venue has some existing light, you might only need 30% to serve as a flattering fill light.Setting Up the Ring Light with ZillaBooth
Integrating the ring light with the ZillaBooth is straightforward and results in a beautiful, consistent product. * Mounting: If your ZillaBooth stand supports it, mount the ring light directly around the camera lens. This ensures the light is perfectly centered for that iconic, shadowless look. If it requires a separate stand, position the ring light as close as possible to the lens axis. The closer the light is to the camera, the softer the final image will appear.
* Dialing In the Power: The key to using a ring light in a low-light venue is consistency. Once you’ve set the color temperature to match the venue’s warmth, take a few test shots. Increase the power until the subject’s face is brightly and evenly illuminated, but stop before the light begins to “spill” too heavily onto the background, which would destroy the dark, moody ambiance. The goal is to isolate the subject.Pro Tip: The Power of Proximity
Remember the inverse square law of light: light falls off rapidly as the distance from the source increases. By positioning the ZillaBooth and ring light system a comfortable distance from the background (say, 5-8 feet), the ring light will brilliantly illuminate the subjects while the background remains in the relative darkness, enhancing the cozy, dramatic feel of the low-light venue. The soft, even light of the ring light is the best way to guarantee flattering, high-quality images while respecting the intentional darkness of the room.
Strategy 2: The Pro “Flash Control” … High-Contrast Drama
While the ring light offers soft consistency, there are times when you need raw, uncompromising power, especially if you want to capture the dynamic energy of a packed, dark dance floor or if you encounter a space that is so dark that a ring light alone introduces too much noise or motion blur. This is where the advanced functionality of the ZillaBooth Pro (or a similar manual control app) and its “Flash Control” feature becomes indispensable.
Understanding the Forced Flash Aesthetic
In auto-mode, a standard camera flash tries to balance the flash with the dim ambient light, which often results in a slow shutter speed. Slow shutter speeds in a photo booth environment guarantee motion blur…ruined photos. The Pro “Flash Control” allows you to manually force the flash to fire at full power, regardless of the ambient lighting. This accomplishes two critical things:1. It freezers motion: A powerful, brief flash allows the camera to use a fast shutter speed (e.g., 1/160th of a second), which completely eliminates motion blur from dancing or moving guests. The subject is frozen perfectly in time.
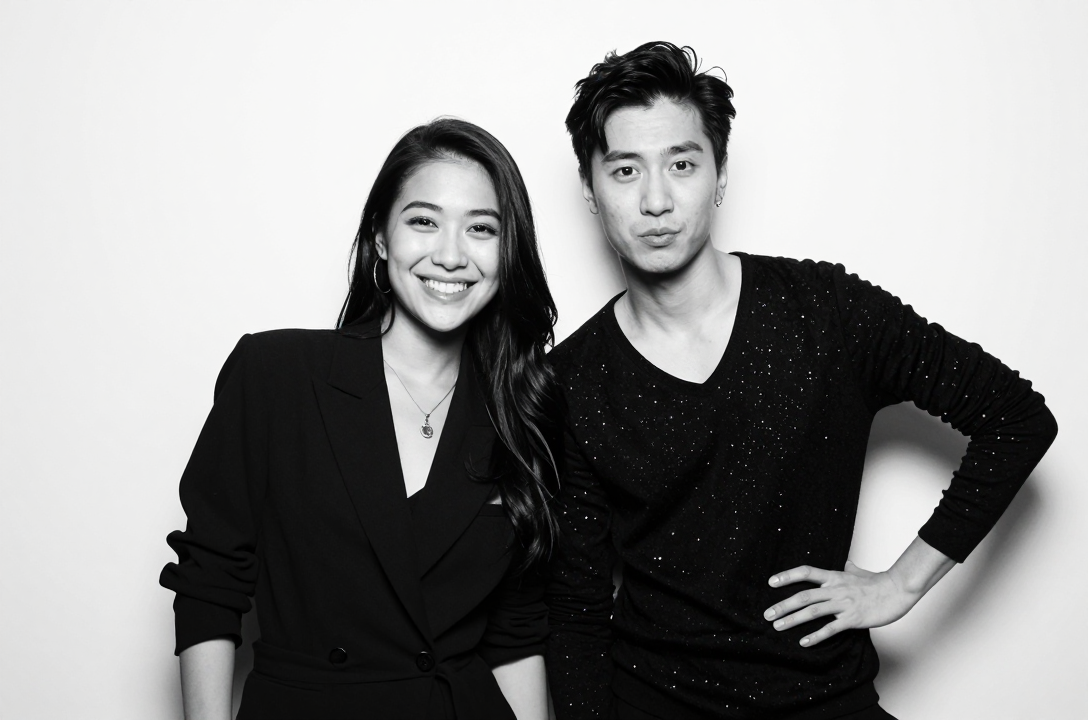
2. It creates high contrast: By forcing a fast, powerful, and undiffused flash, you create a dramatic, high-contrast look often called the “paparazzi aesthetic” or “editorial flash.” The subject is intensely illuminated, while the rest of the dark room falls away into deep, black shadows. This aesthetic perfectly complements the drama of a low-light venue.How to Leverage ZillaBooth Pro’s Flash Control
The core principle is to take the flash function out of automatic control. * Access the Pro Settings: Navigate to the advanced settings menu in your ZillaBooth Pro application. Locate the flash icon or “Flash Control” setting.
* Set to Manual “Force On”: Change the setting from “Auto” to “Manual Force On” or simply “On.” This ensures the flash fires with every single shot, giving you complete control over the exposure.
* Adjusting Shutter and ISO: Since the flash is now your primary light source, you can manually set the camera’s ISO (sensitivity) to a low number (e.g., ISO 100 or 200) to virtually eliminate digital noise (graininess). You can also set a fast, safe shutter speed (e.g., 1/125th) to guarantee sharpness. The flash exposure controls the subject, and the fast shutter speed controls the blur.Pro Tip: The Drag the Shutter Technique (Advanced)
If you want to capture some of the beautiful ambient background light (like those string lights or candles) while still freezing the subject, use a technique called “dragging the shutter.”1. Keep the flash “Force On.”
2. Slow the shutter speed slightly (e.g., from 1/125th down to 1/30th or even 1/15th of a second).
3. The flash will still fire, freezing the subject perfectly, while the slower shutter speed allows the camera to record a bit of the colorful, streaky background ambient light. The result is a dynamic, high-energy photo…a sharp subject with a moody, artistic, slightly blurred backdrop. This is a highly professional technique that works wonders in dark spaces.Bonus Tips for Flawless Dark Venue Booths
Mastering the light is only part of the equation; placement and preparation are equally important when dealing with the challenge of low-light venues. * Background Management: In a dark venue, the background can be a messy distraction. If you’re not using a dedicated backdrop, place the ZillaBooth against a dark, featureless wall or an area where the lighting is particularly sparse. This lets your lighting strategy (whether ring light or forced flash) isolate the subjects and allow the rest of the room to fade away, enhancing the portrait-like quality of the photos.
* Avoid Competing Light Sources: Position the photo booth away from any venue spotlights, aggressively bright exit signs, or large windows. These competing light sources can confuse the camera and create wildly inconsistent exposures in your shots. You want your controlled light source to be the only significant light source on your subject.
* Use the Prop Tray Strategically: Glitter, sequins, and reflective surfaces are your friends when working with direct light. Encourage the use of shiny props. The ring light or the forced flash will bounce aggressively off these materials, creating an explosive, dynamic effect that adds visual energy to the photo, which is especially important in an otherwise dark setting.
* Lens Maintenance: Dust or smudges on the camera lens are invisible in bright light but become glaringly obvious when a powerful flash or ring light hits the glass. Before the event and periodically throughout, give your lens a quick wipe with a microfiber cloth. A clean lens ensures maximum light transmission and crystal-clear results.The modern low-light event is an aesthetic challenge, but it’s also a powerful opportunity. By implementing the soft, consistent light of a high-quality ring light or the dramatic, sharp contrast of the Pro “Flash Control” technique, you transform the ZillaBooth from a simple camera system into a sophisticated lighting tool. You no longer have to compromise the beauty of the venue for the quality of the photo…you can leverage the darkness to make your guests truly stand out. Go forth and master the light, even when there is almost none.